A project in Central London: Reclaiming the spare room
Sometimes we all feel like we can’t declutter. If you browse online, you can probably find out how to declutter a home. However, the hardest part is to start on it.
Here is a small/medium size project to show you step by step what we did, and how we did it.
Day 1: Where to start?
15 mins video call consultation
The Client and I set up a quick video call to talk about the following:
- The project: a medium size spare room in a flat, shared by three flatmates; used for guests and visiting family.
- Flat’s location and accessibility: central London block of flats, 3rd floor.
- Spare room’s furniture and general content: mostly bed linen, clothes, suitcases, and boxes.
- Goals and requirements: turn it into a more accessible guest room.
We decided to do one hour in-person consultation, and then decide the amount of hands-on work needed.


END OF DAY 1
Day 2: How to declutter?
One hour consultation
It’s time to strategise. We sit down in the spare room, and look at:
- Content and furniture
- What needed to stay and what needed to go
- How it will be used moving forward
1. Content and furniture (four areas needed improvements):
- The chest of drawers
- The wardrobe
- Under the bed storage
- Storage space by the window
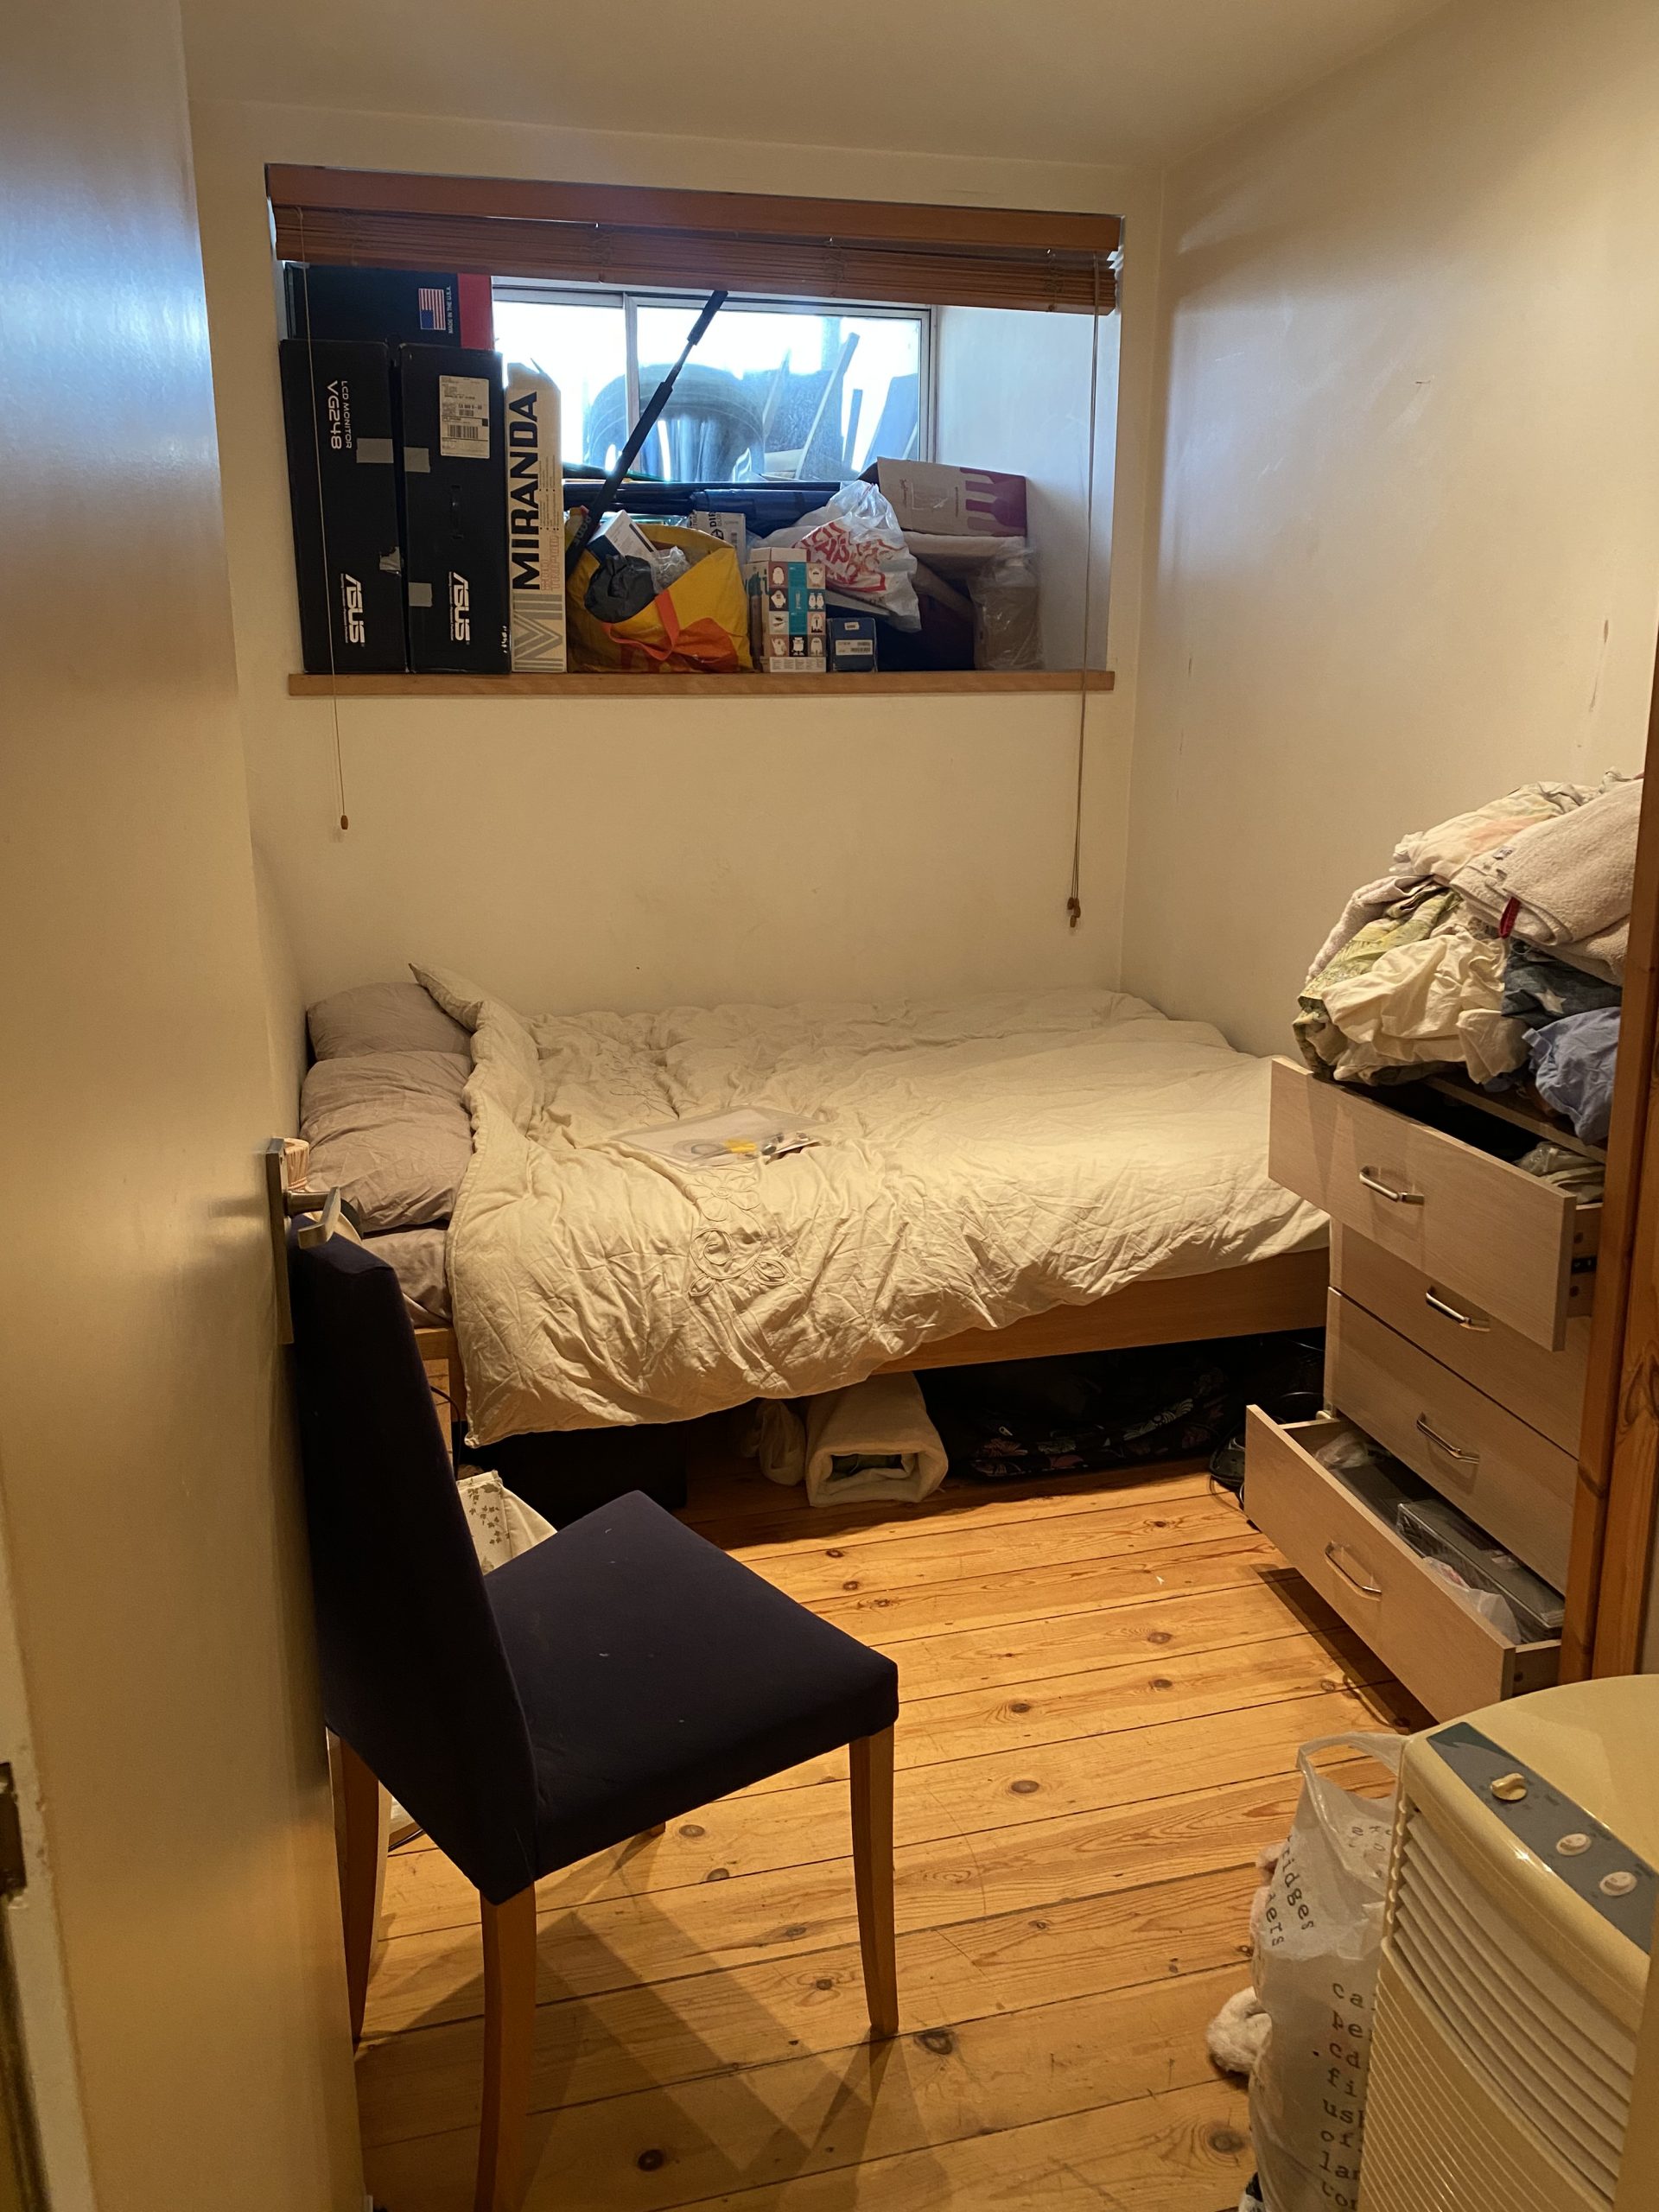
Medium size spare room, with double bed and some furniture.
2. What needed to stay and what needed to go (split in categories, for more efficient sorting):
- Bed linen: This is staying, but needs be more accessible, as used regularly; spare can to be stored away for ‘extra guests’.
- Towels: Are staying, but they’re in use, so need to be more accessible.
- Clothes: Need to be individually screened, with most of them are to be disposed of, donated, or recycled.
- Suitcases: Must be checked for content, and stored away.
- Work-stuff: Should be stored properly and kept together, so it’s ready when needed.
- Boxes to be recycled: Need to be flattened and recycled.
- Some miscellaneous: Including office supplies and more, to be decided ad-hoc.
3. How it will be used moving forward:
- Easy access chest of drawers and wardrobe would store regularly used items (bed linen, towels, etc)
- Less accessible spaces such top of the wardrobe, under the bed, and by the window, would be used for suitcases and work stuff.
We decided that about eight hours hands-on work across two days should be enough to get through everything.
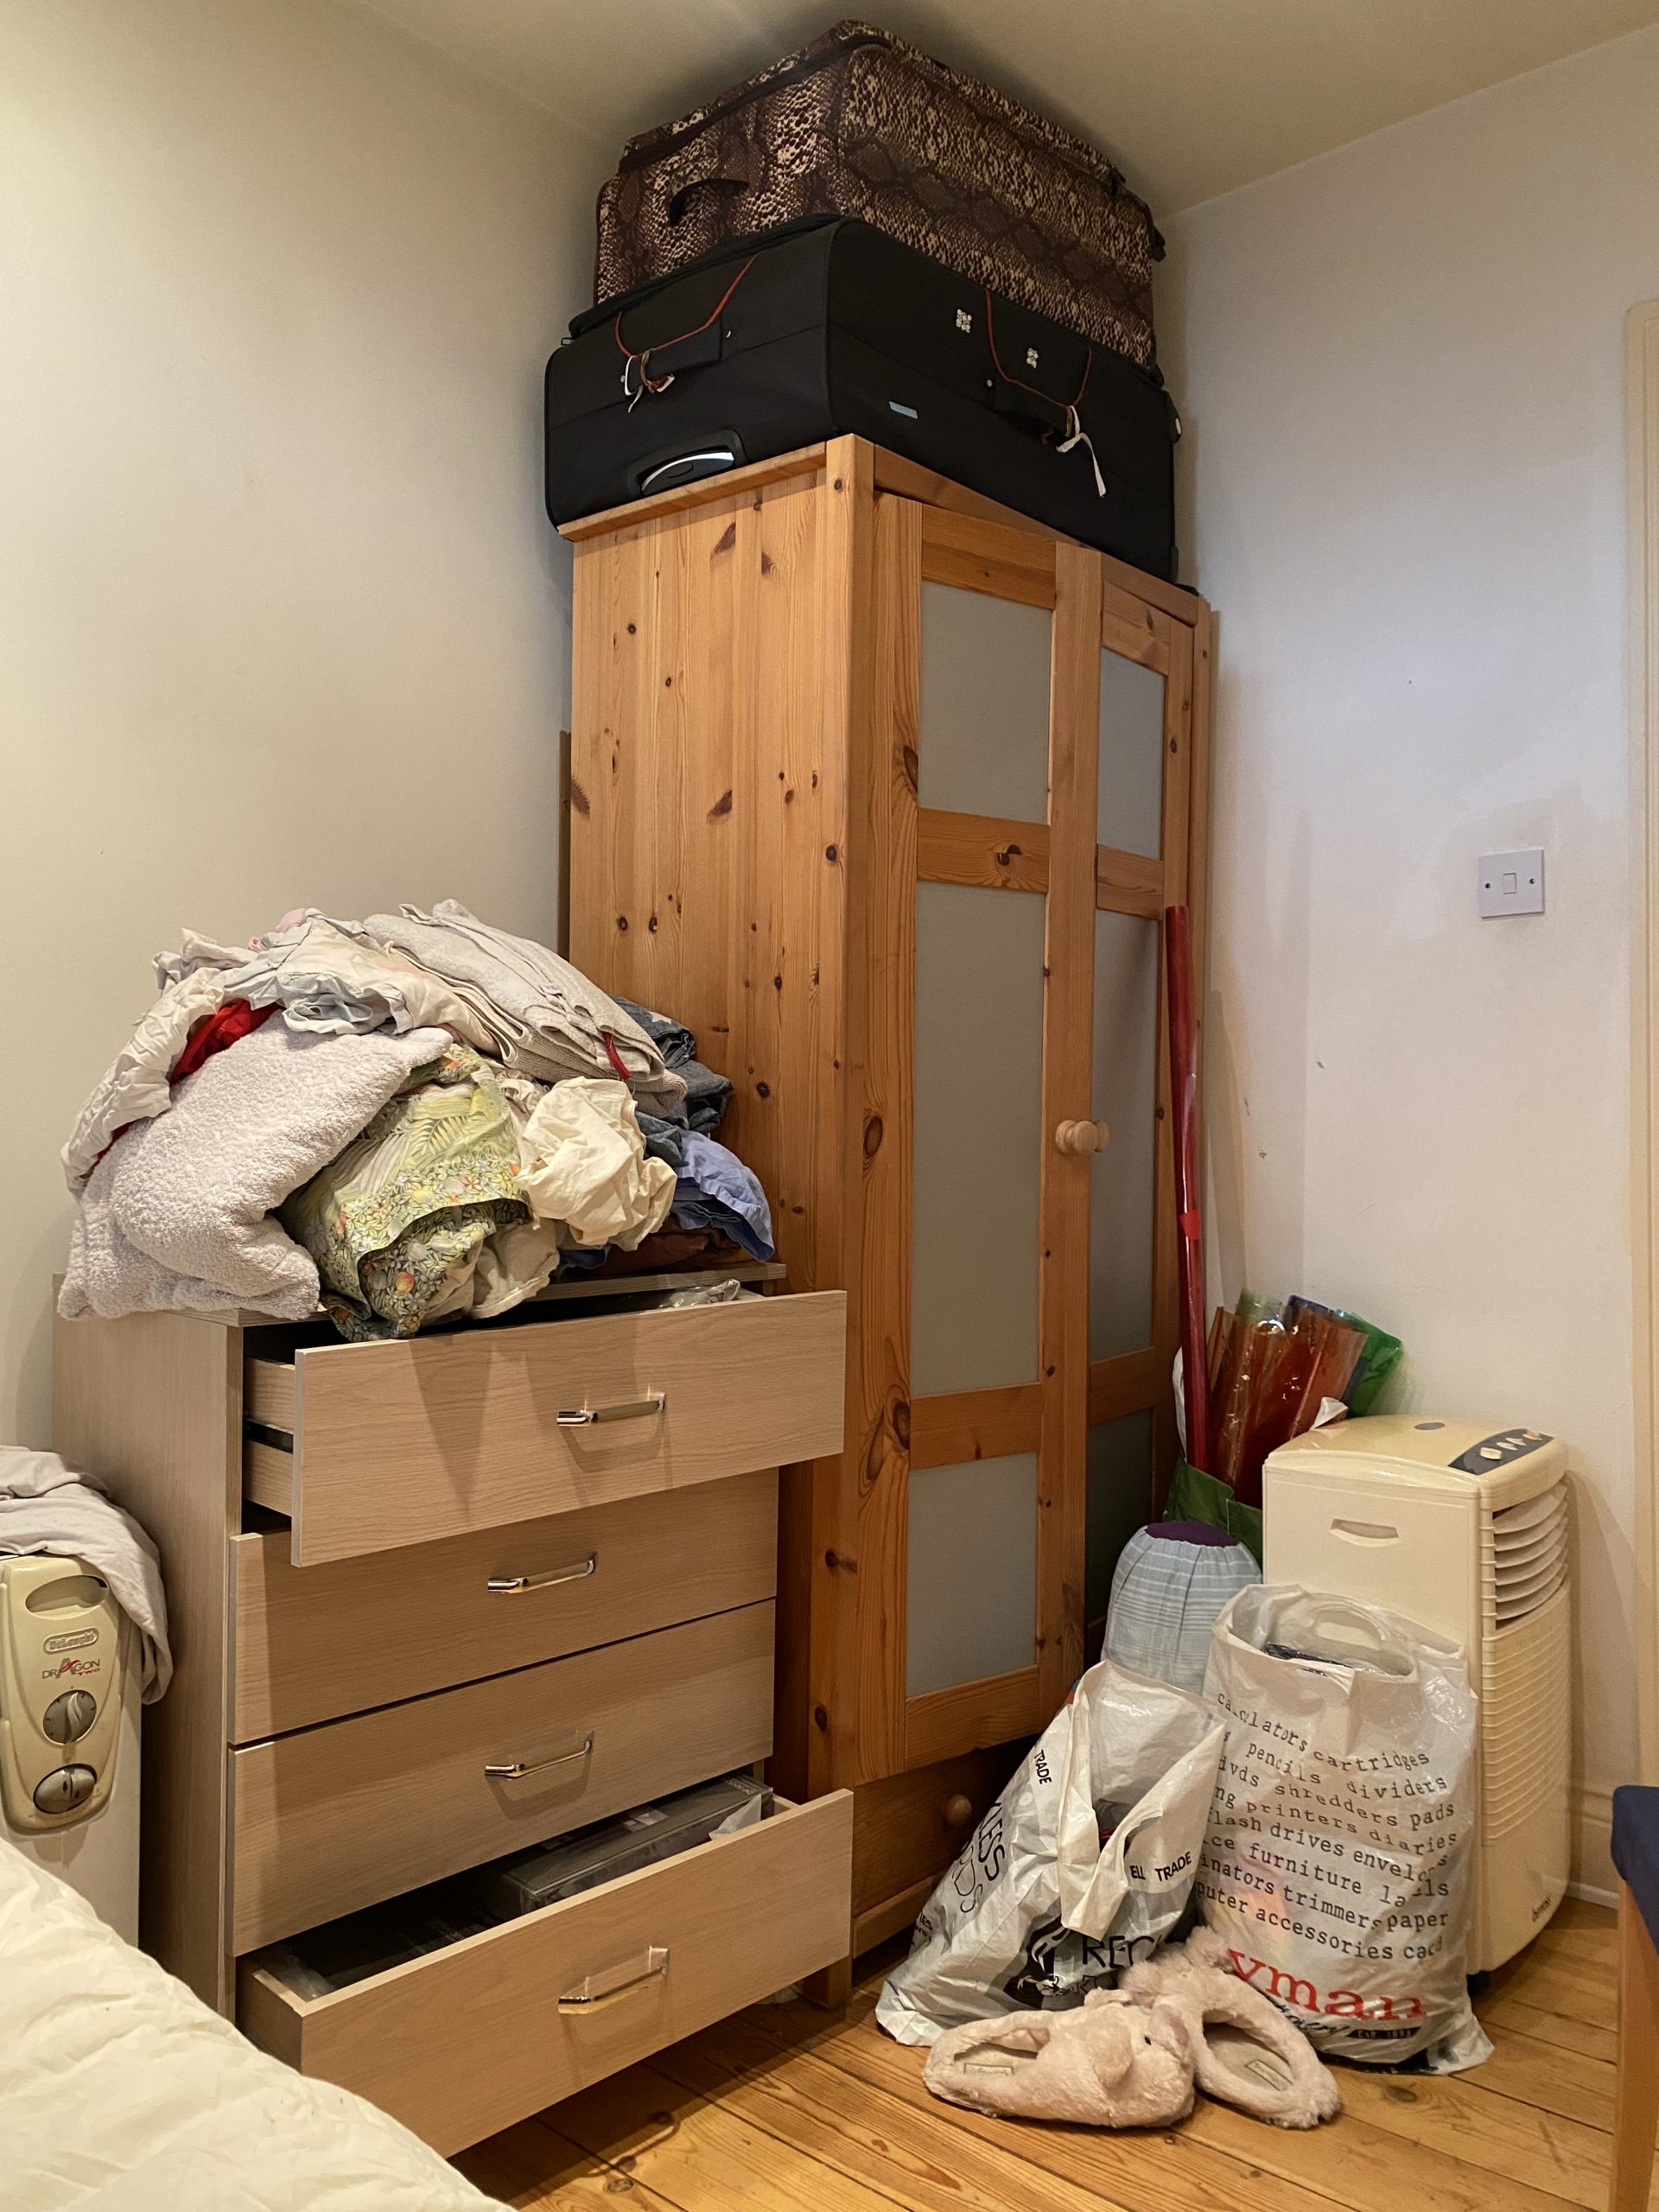
Room was used by flatmates as storage space.
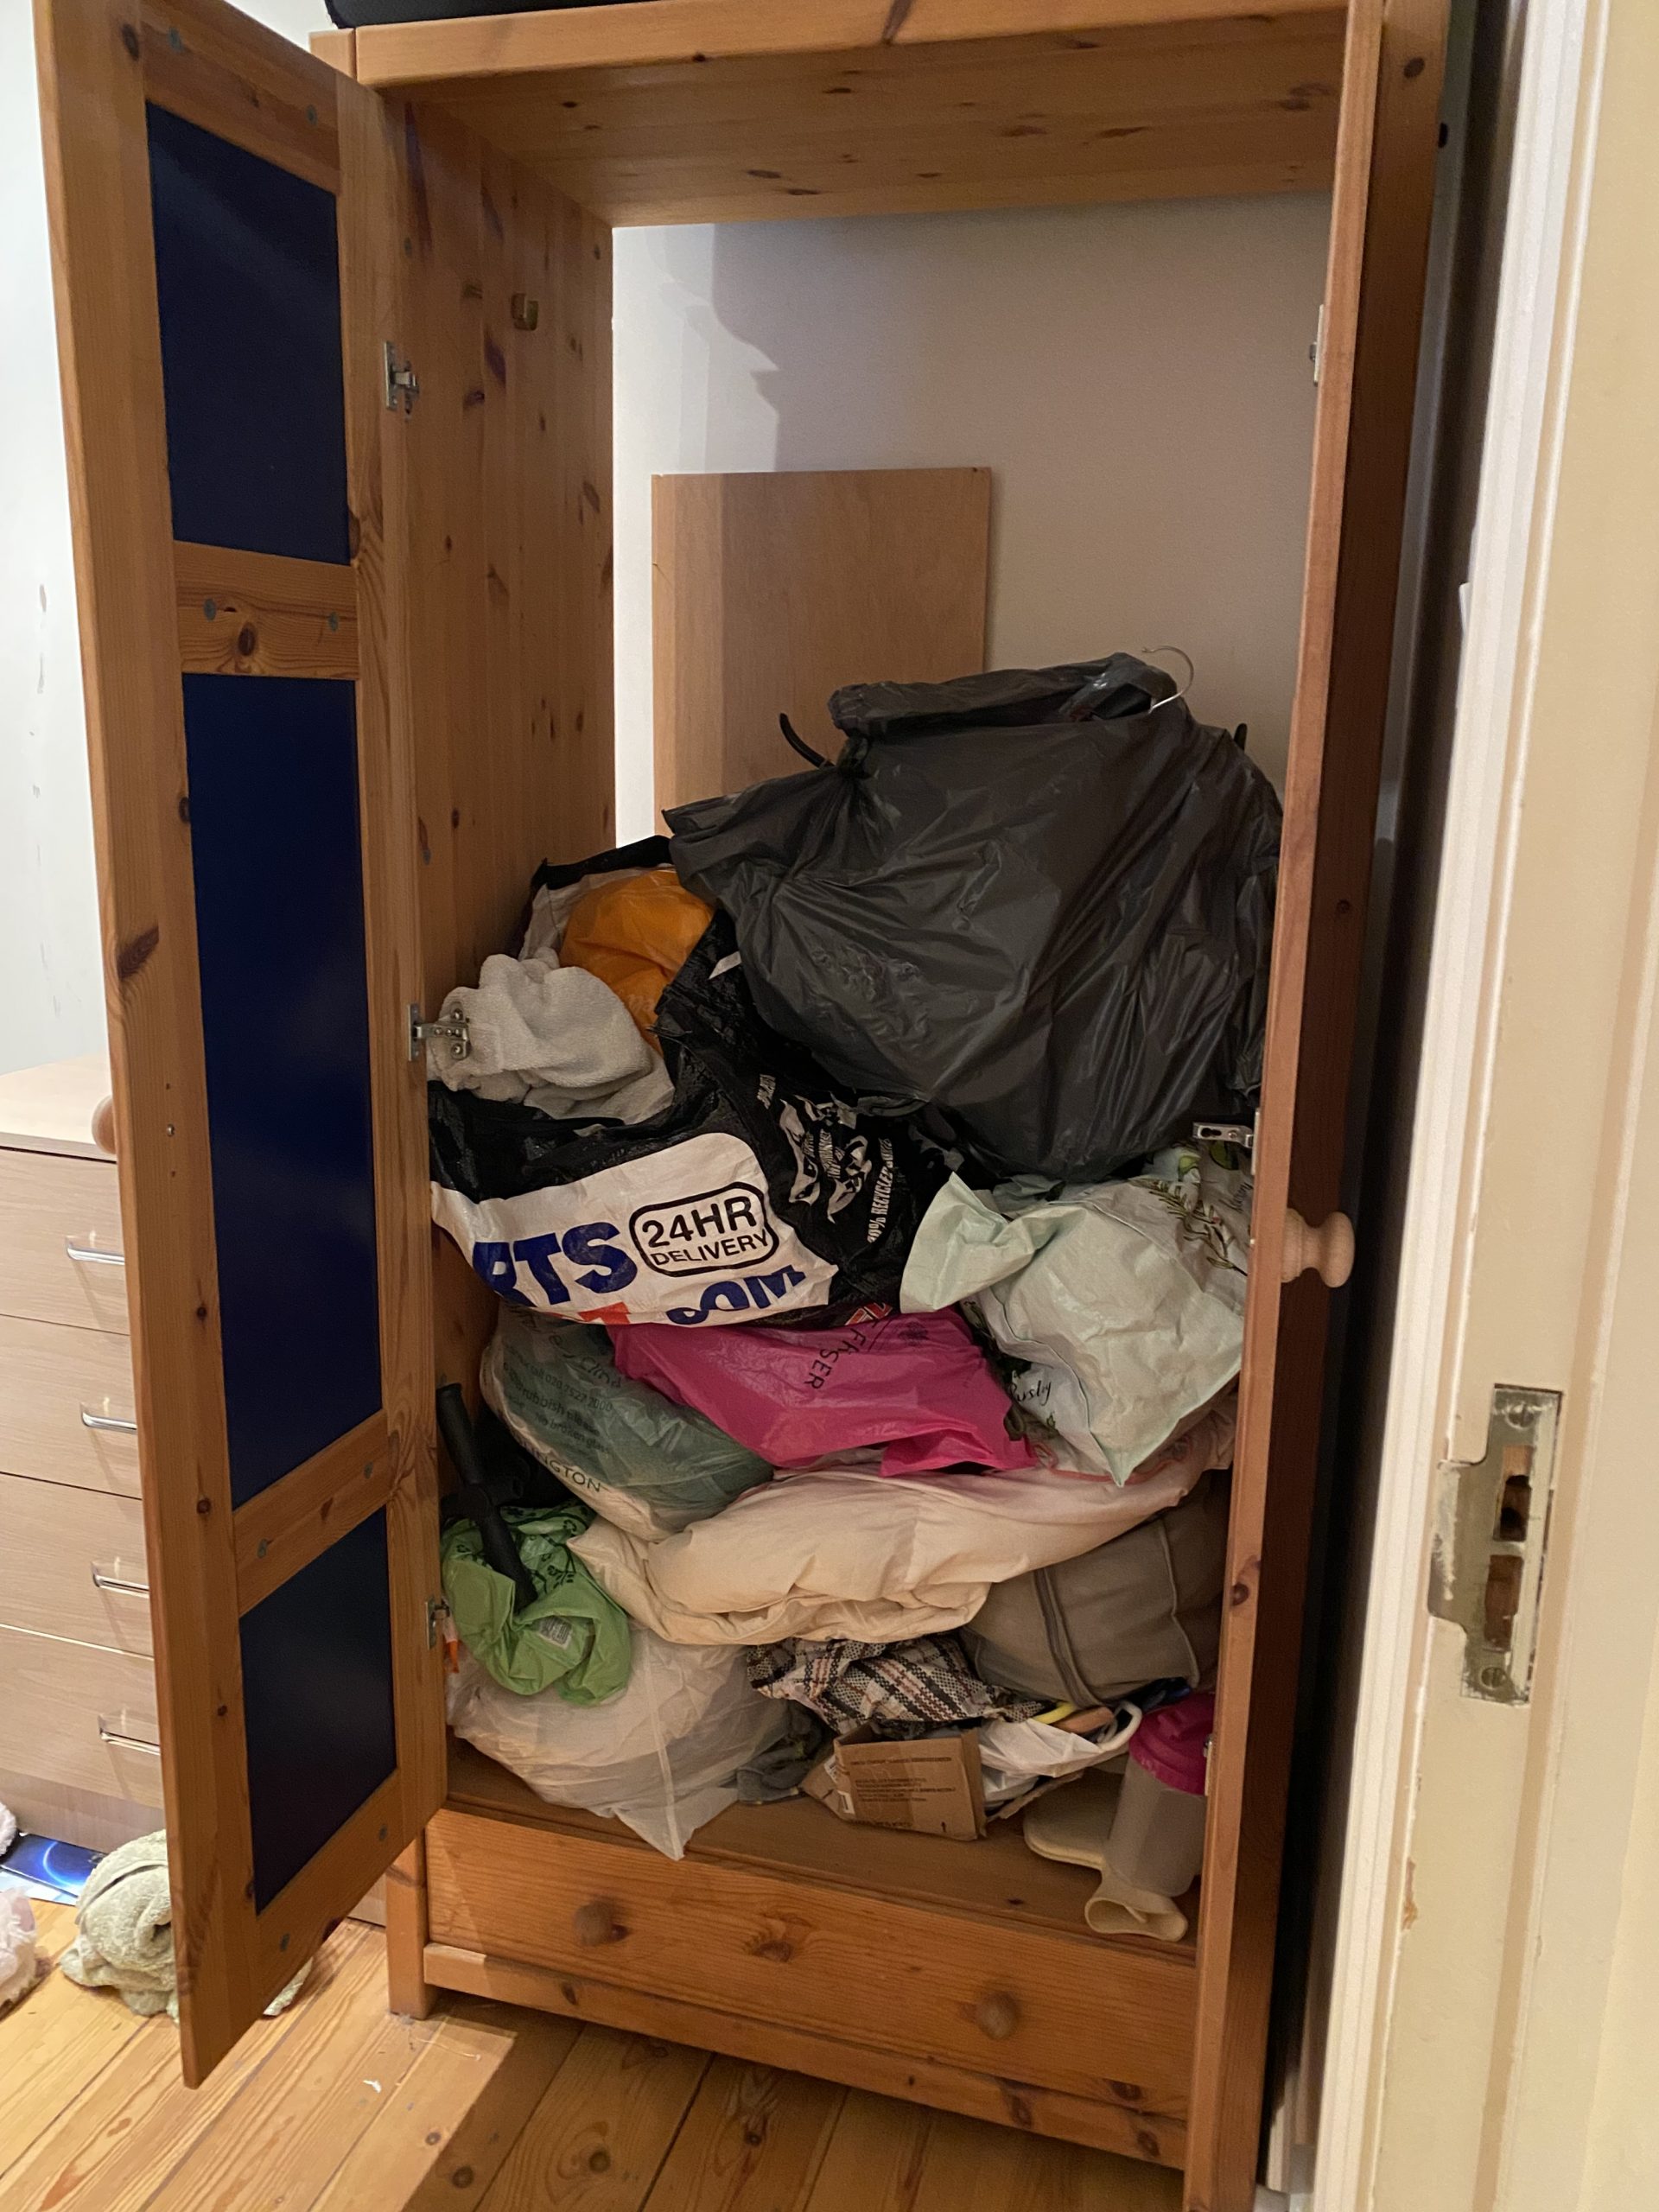
The wardrobe had many bags of items donated by family members.
Four hours of hands-on work
We started with going through the contents of both wardrobe and chest of drawers, and opened up all the bags to divide content by type.
We prioritised bed linen and towels, so that we could store them back into the drawers. We then moved onto clothes so that we could free up some space as most of it needed to go.
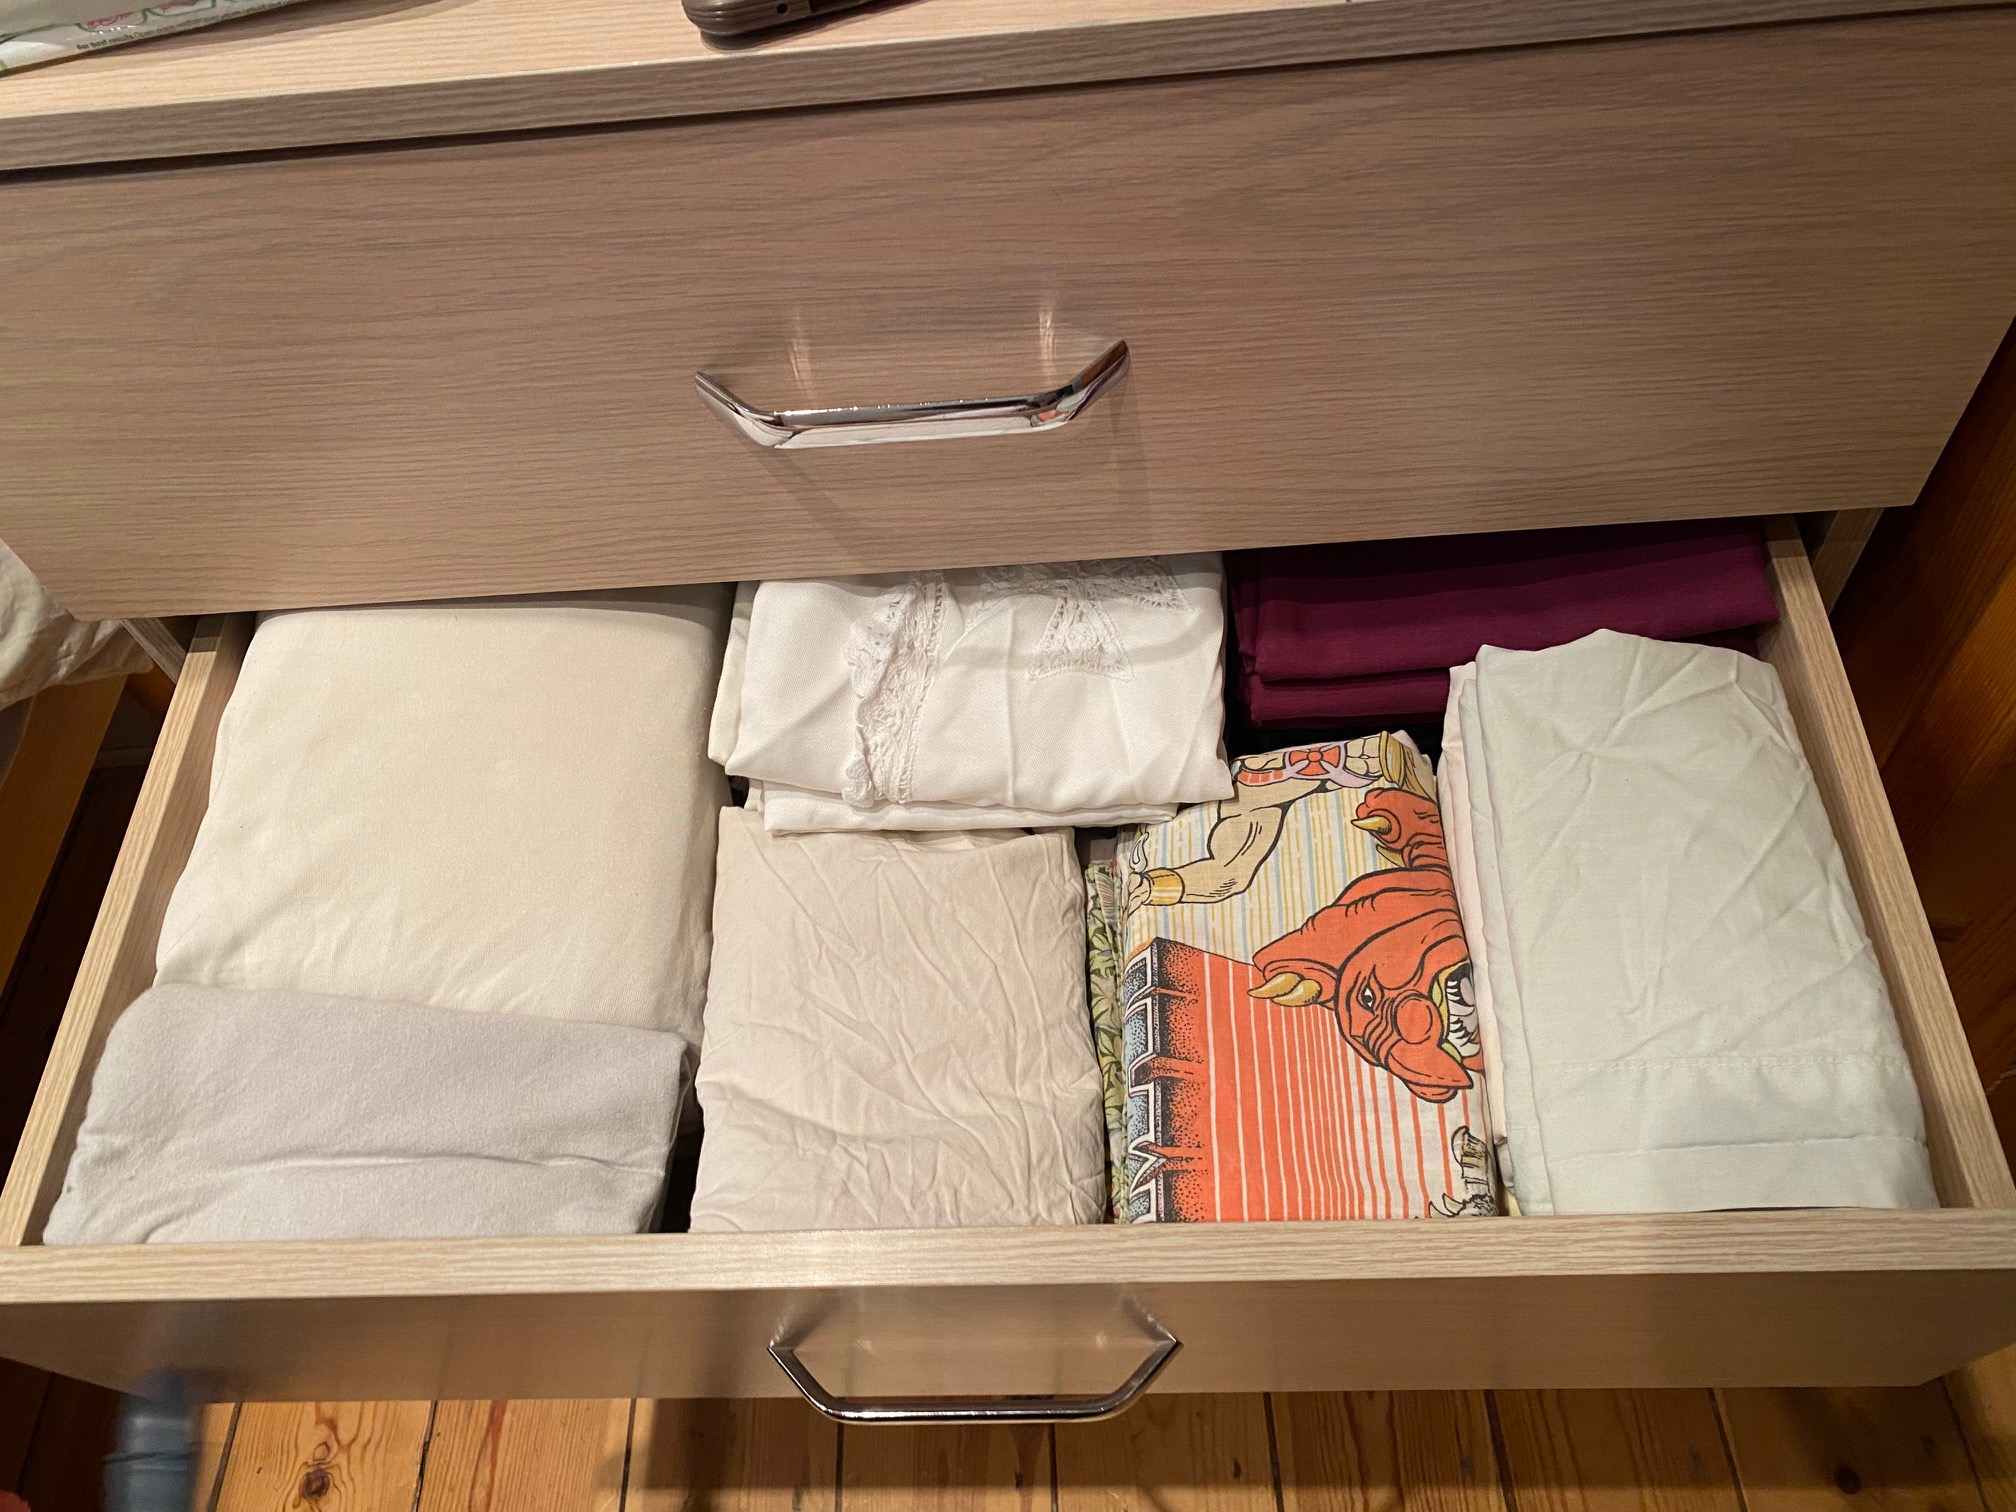
We folded all clothes in a way that worked with the space we had available, using the chest of drawers for the bed linen and towels.
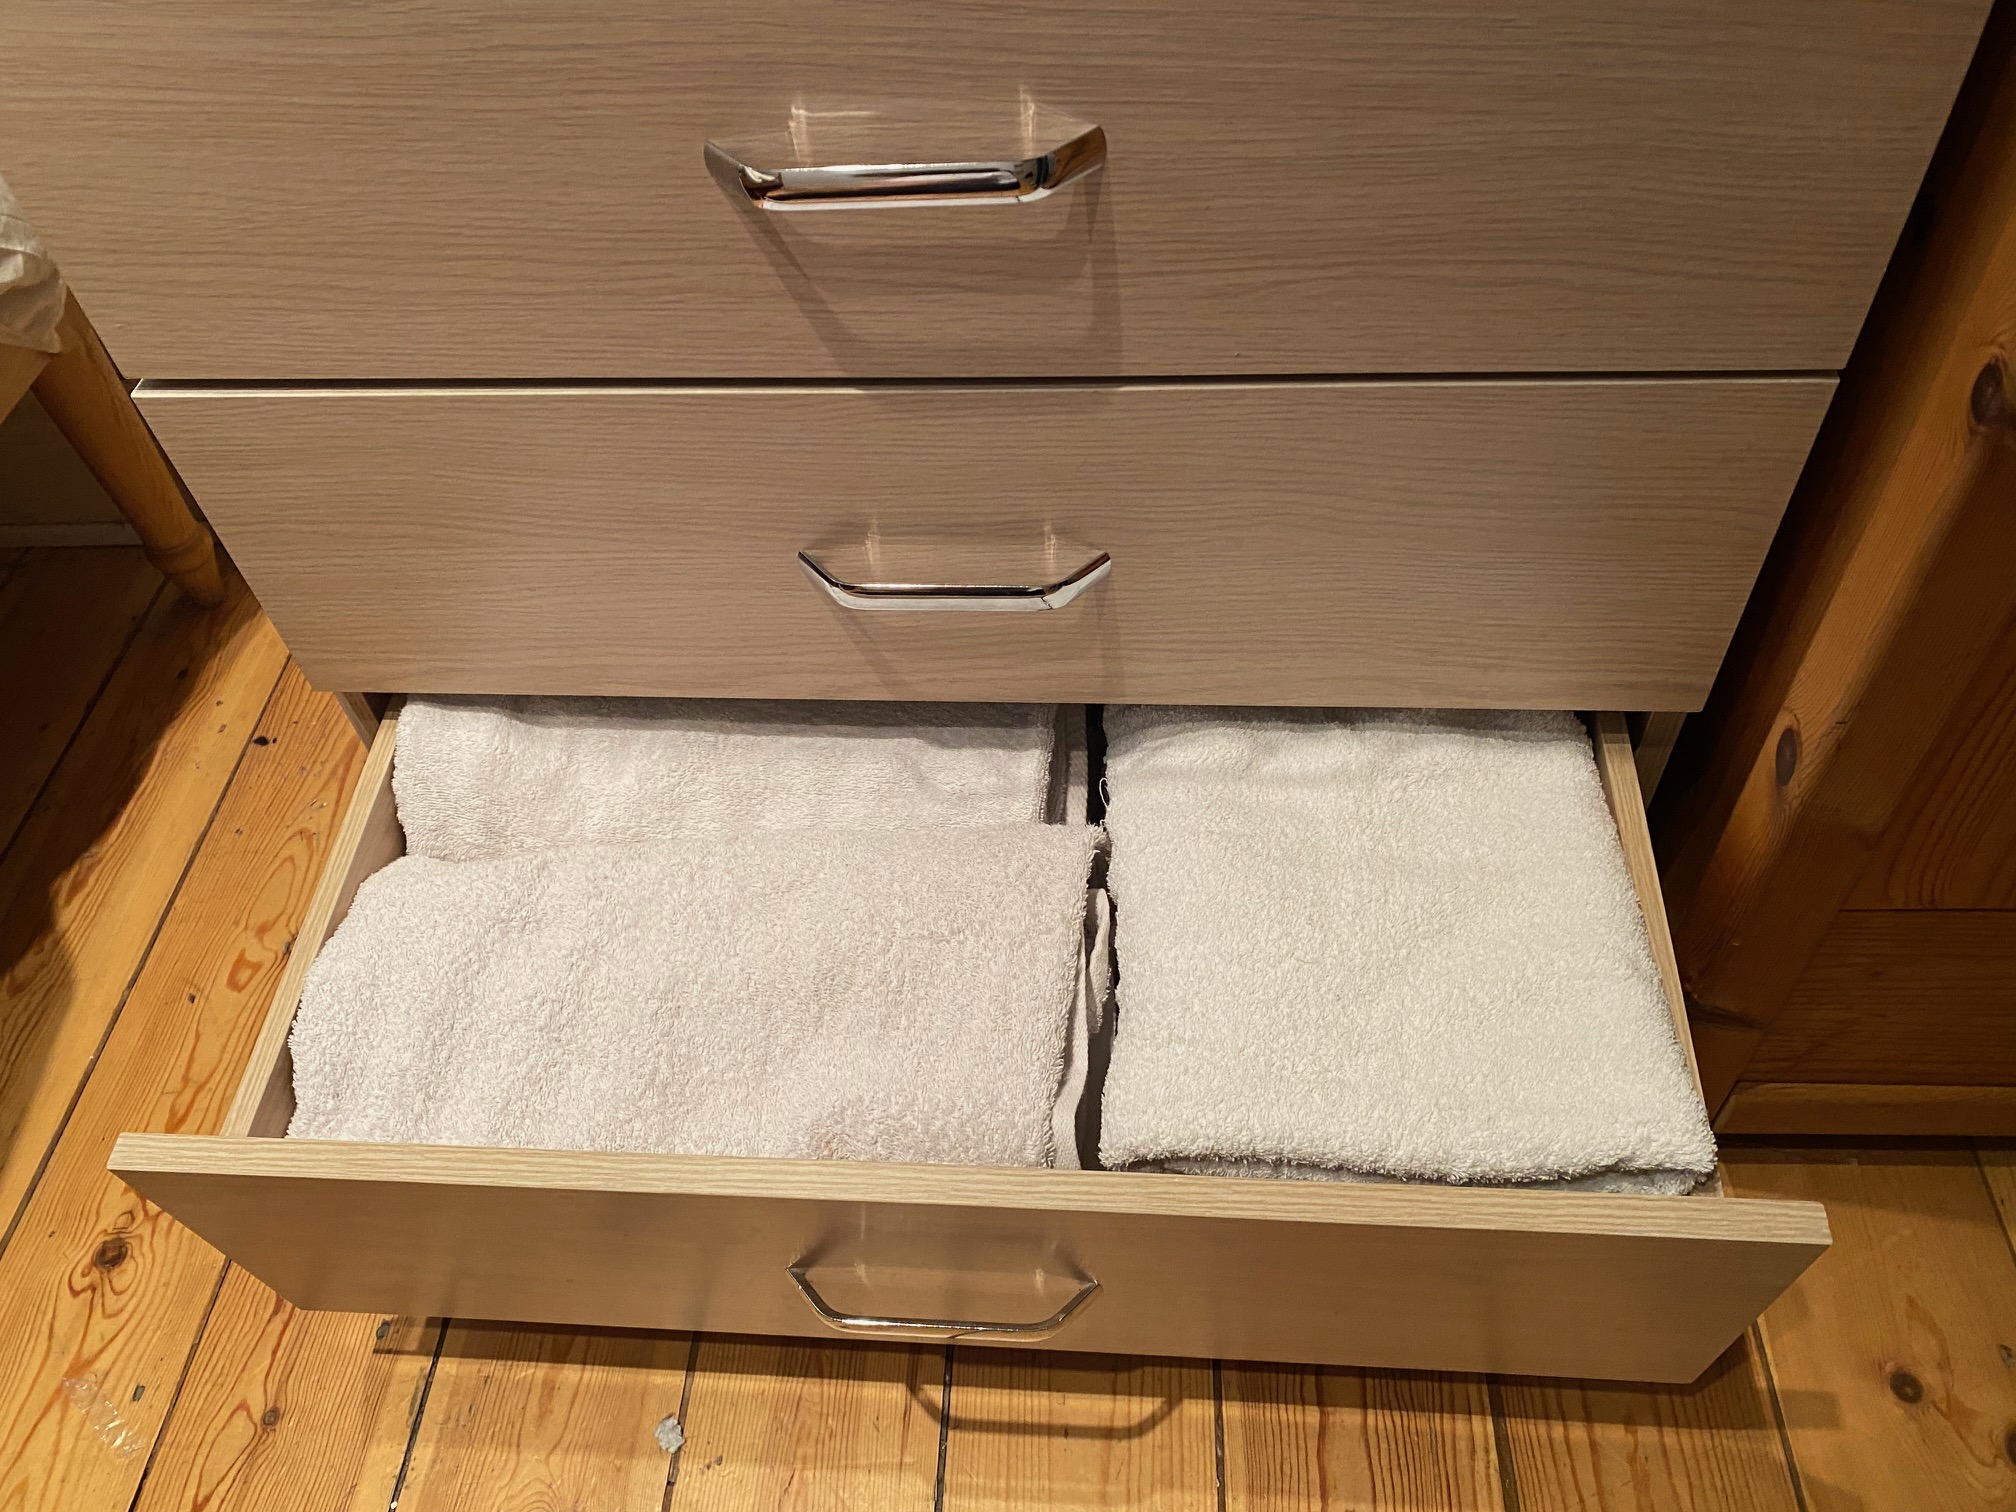
There are many ways to fold bed linen and towels, but I opt for something simpler, that leaves no loose ends catching in the drawer’s rails.
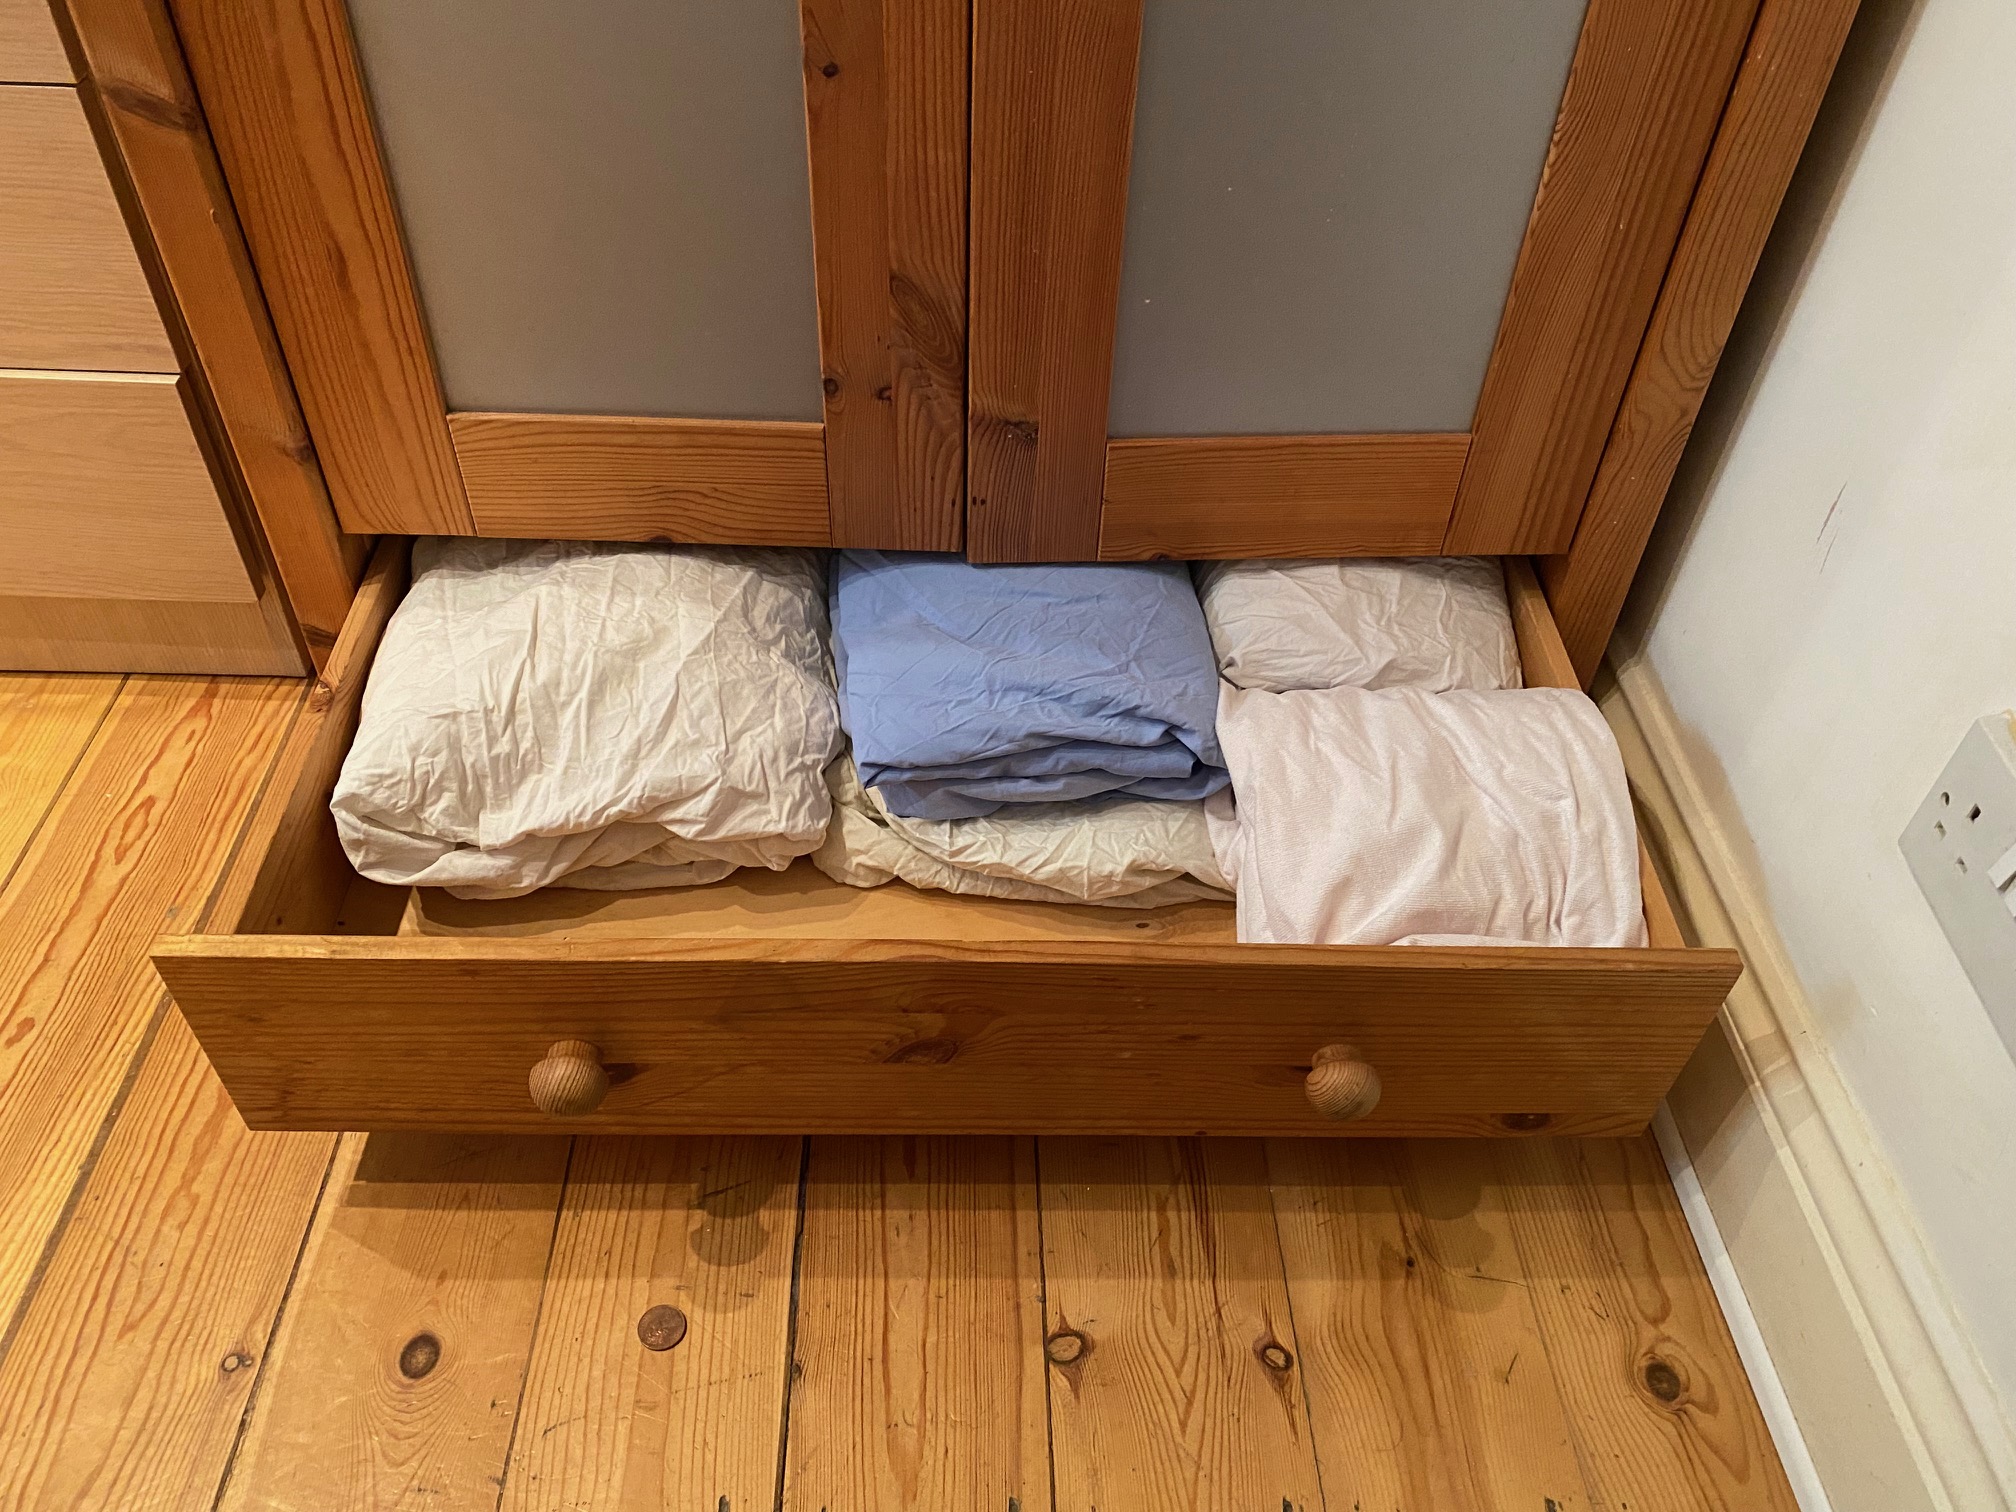
We managed to leave some spare space for extra bed linen in the wardrobe drawer, just in case we need it in the future.
The wardrobe needed some TLC, as a couple of the hinges came off and needed to be screwed back, so I have helped the client with that (I can be handy with a screwdriver!).
We continued until evening, and then tidied up the room, before setting a time for the following meeting.
END OF DAY 2
Day 3: Storing, recycling, and disposing.
For another four hours of hands-on work
It’s time to sort out under the bed and by the window’s storage spaces. We started going through the work-stuff, boxes and miscellaneous, and sorted by what needed to stay and what needed to go.
We planned an efficient storage system for the work-stuff, and we flattened all the no-longer-needed boxes to free up the space by the window.
We continued until afternoon, and then concluded our work and enjoyed a cup of tea together!
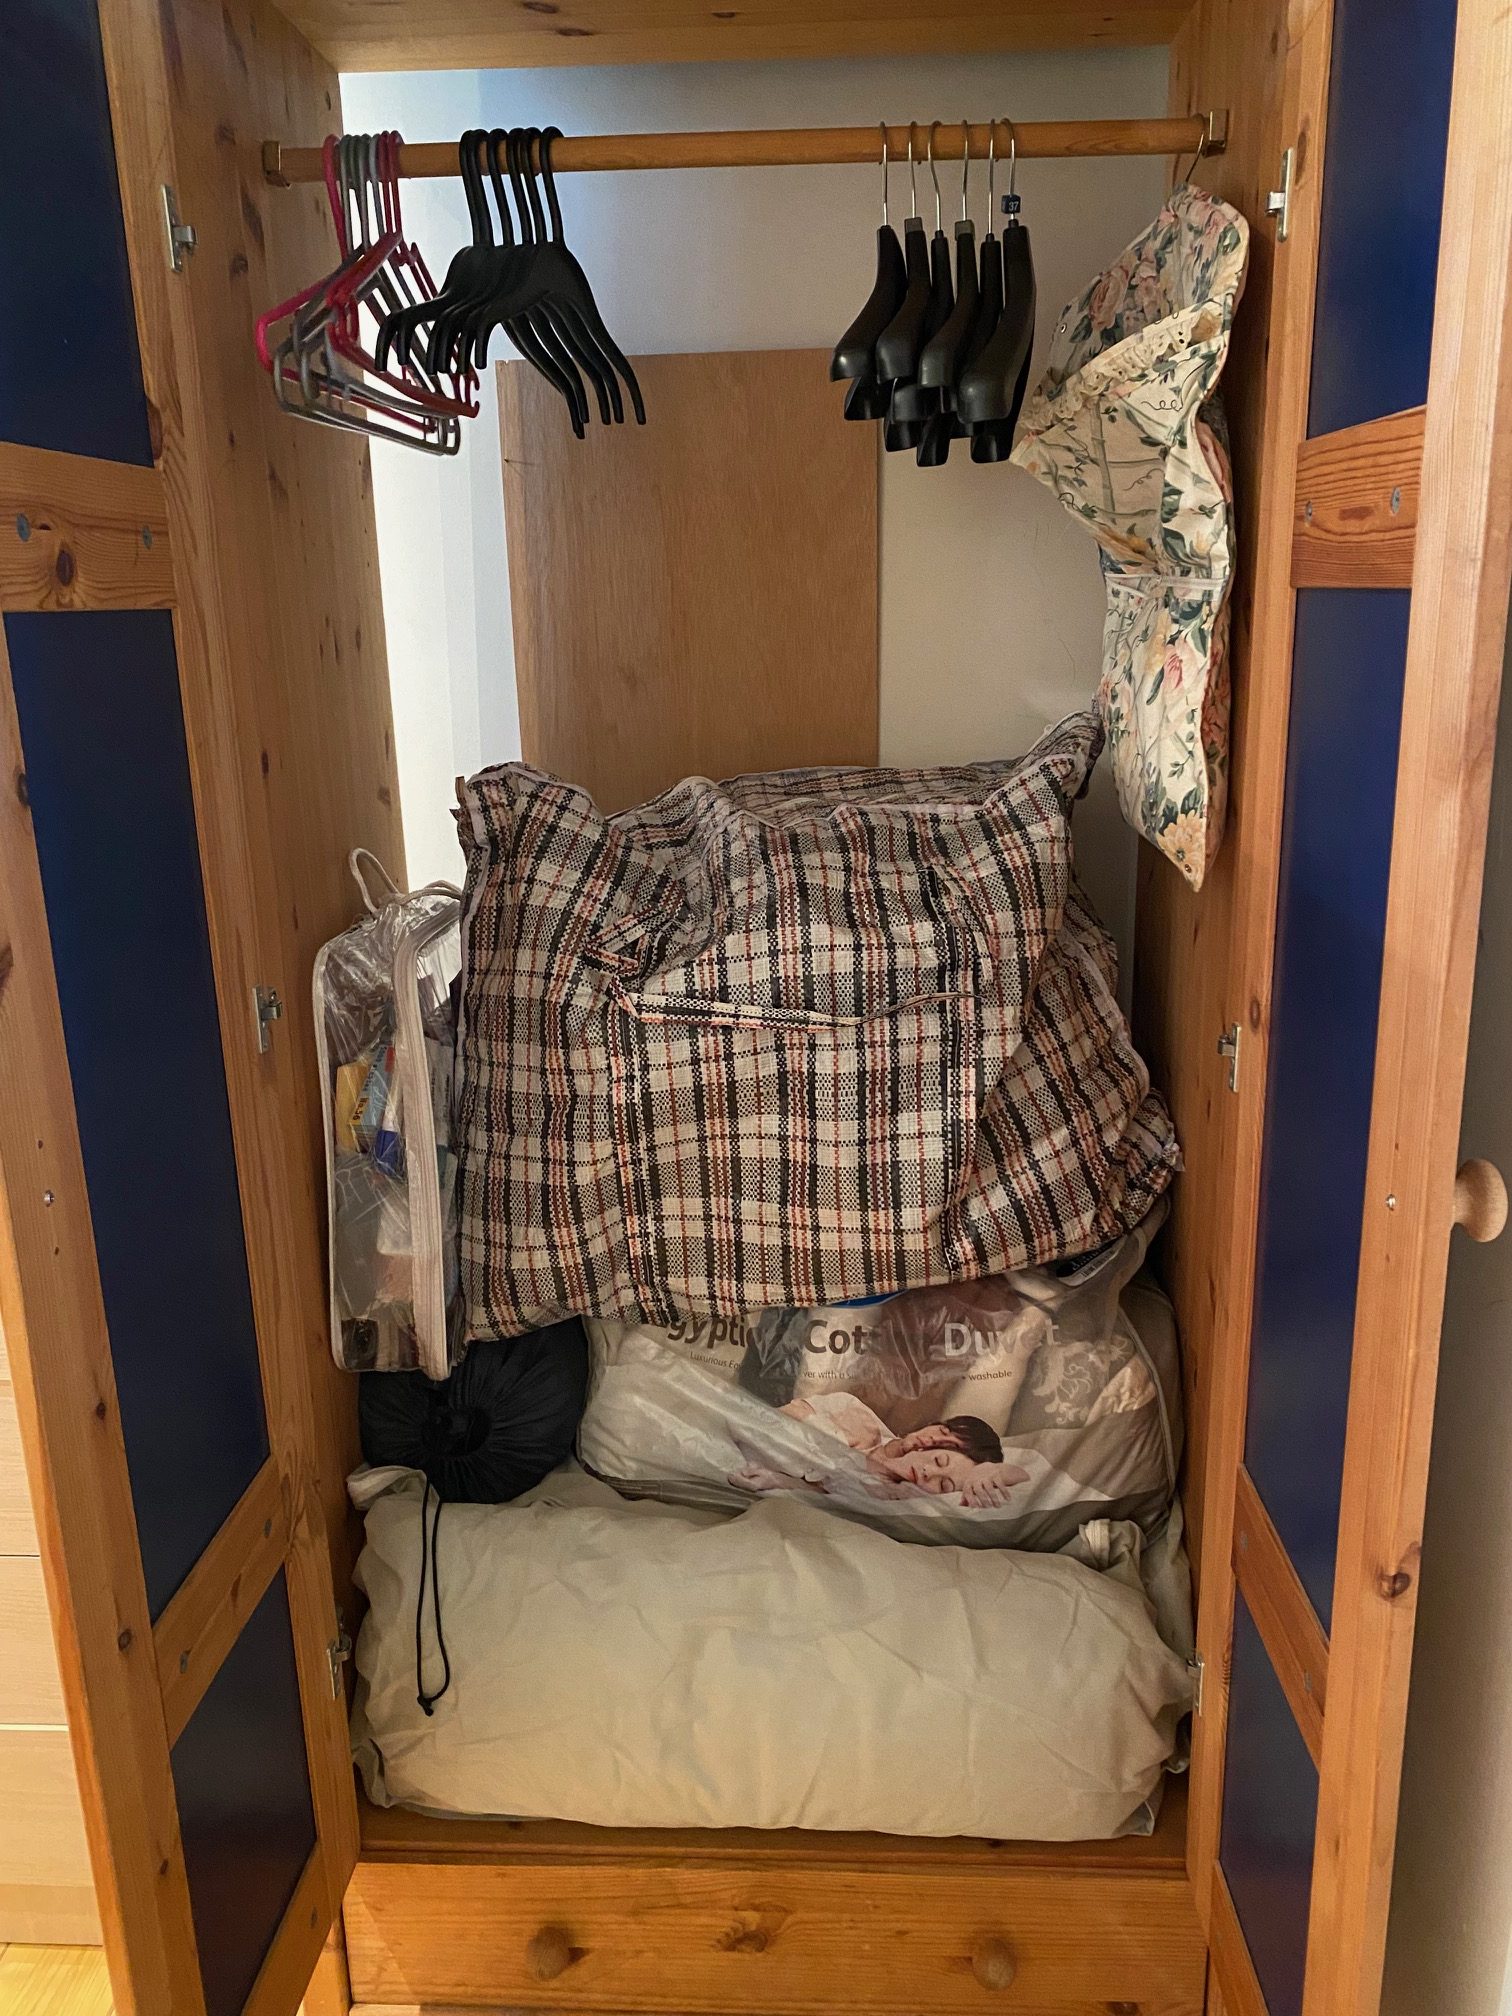
We fixed the wardrobe hinges, and we stored extra spare bedding in a better arranged way, using bags that we found while clearing out.
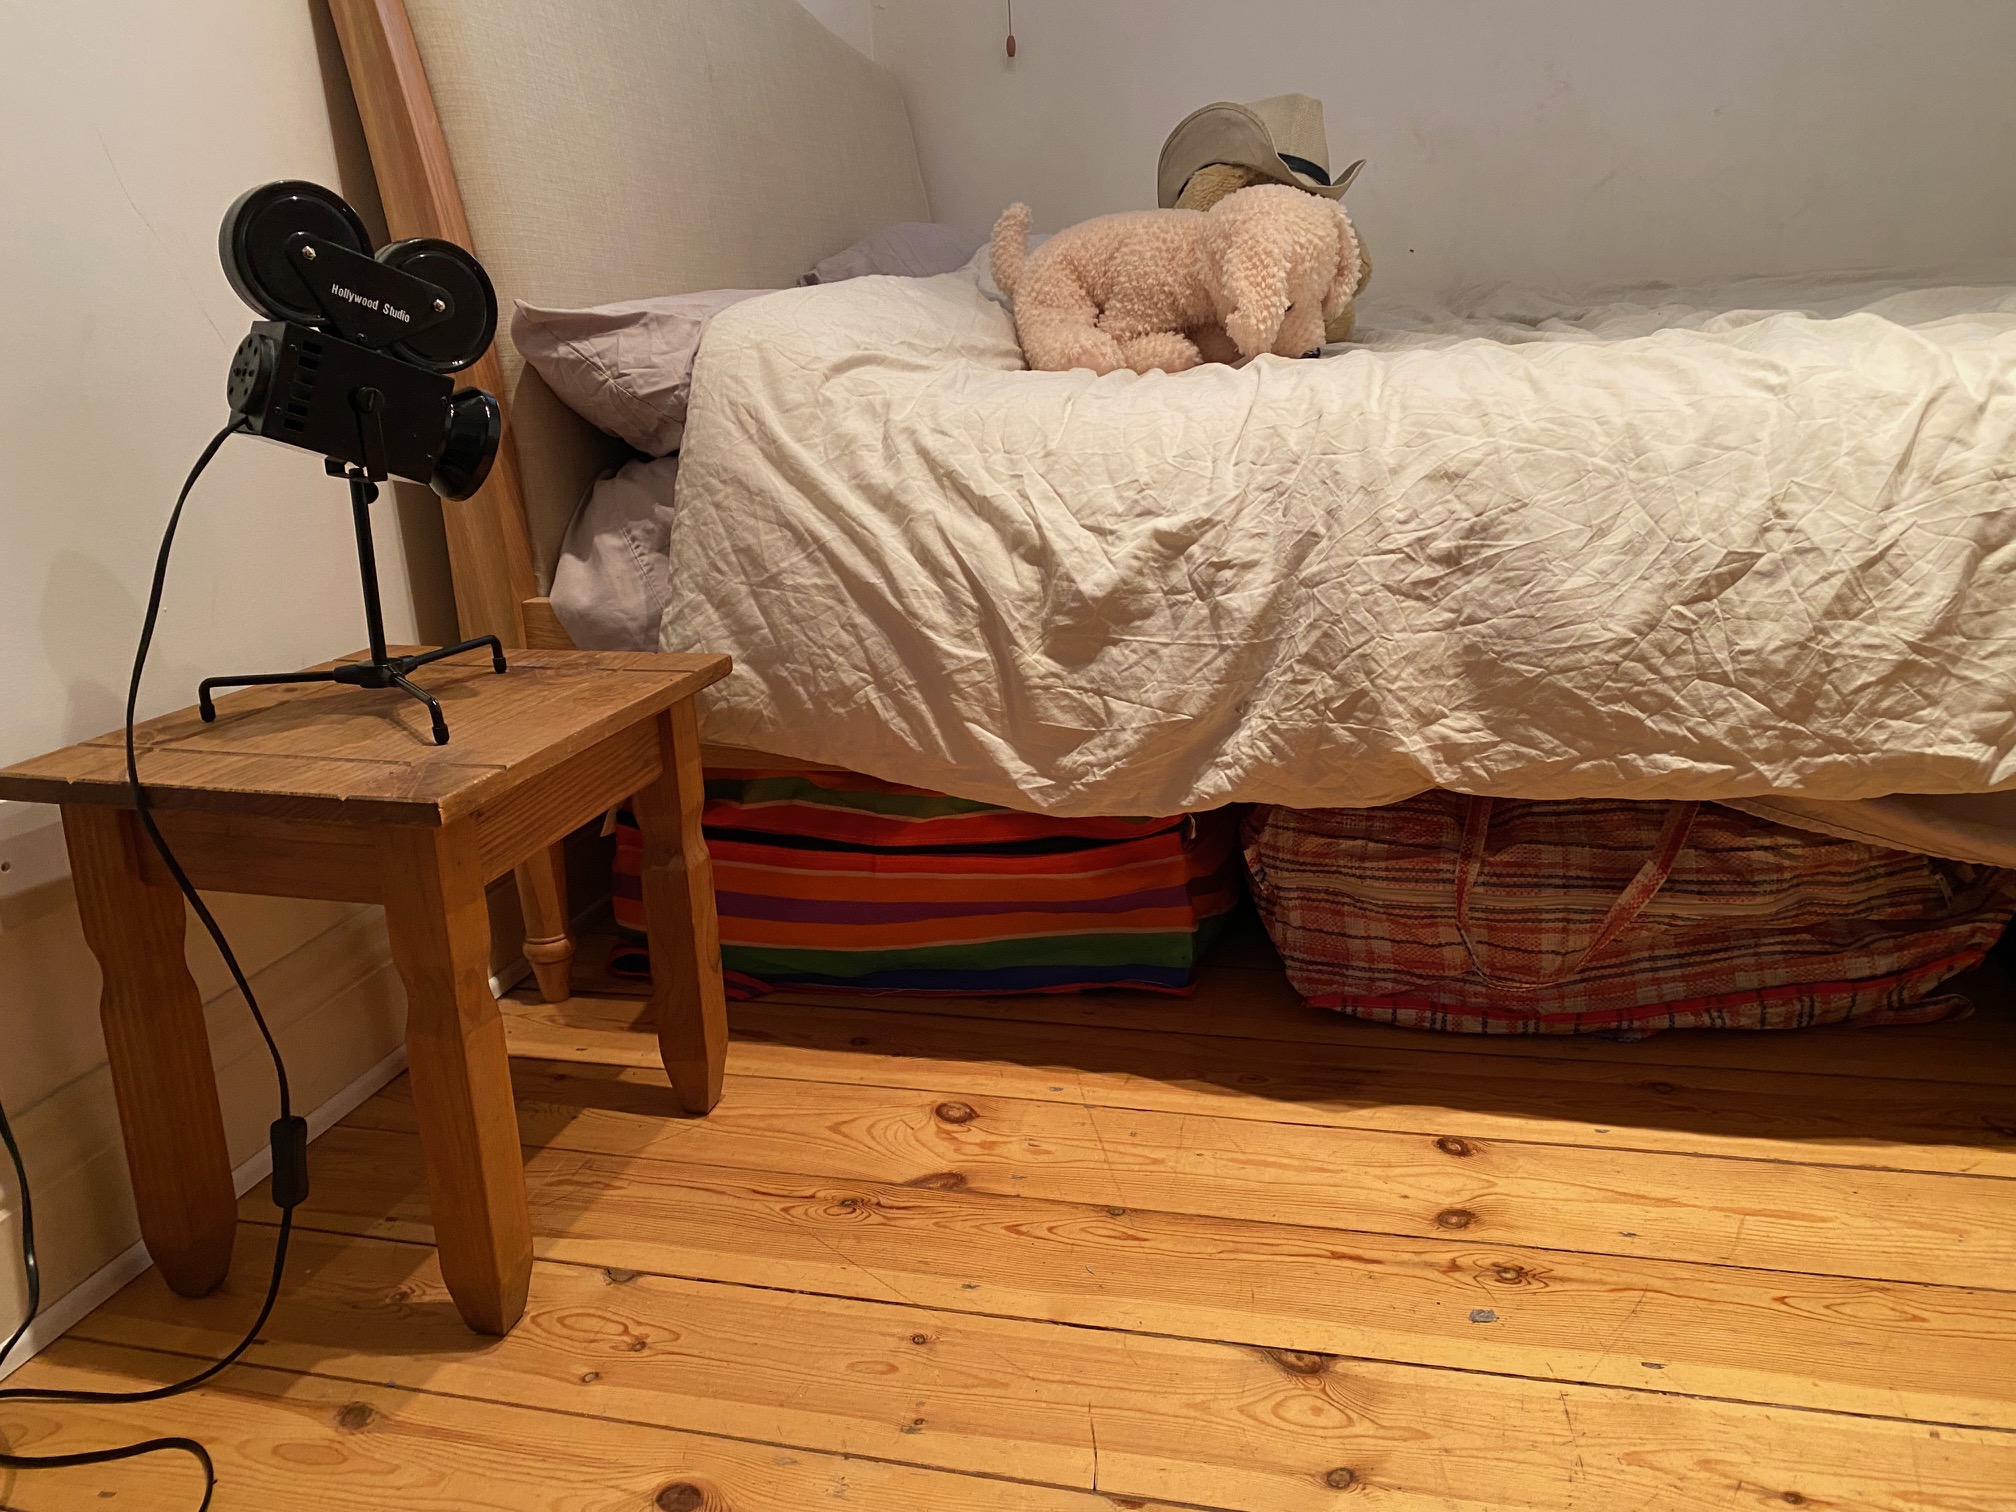
We stored the work stuff in large bags that protected everything from dust, and were easy to pull out from under the bed when needed.
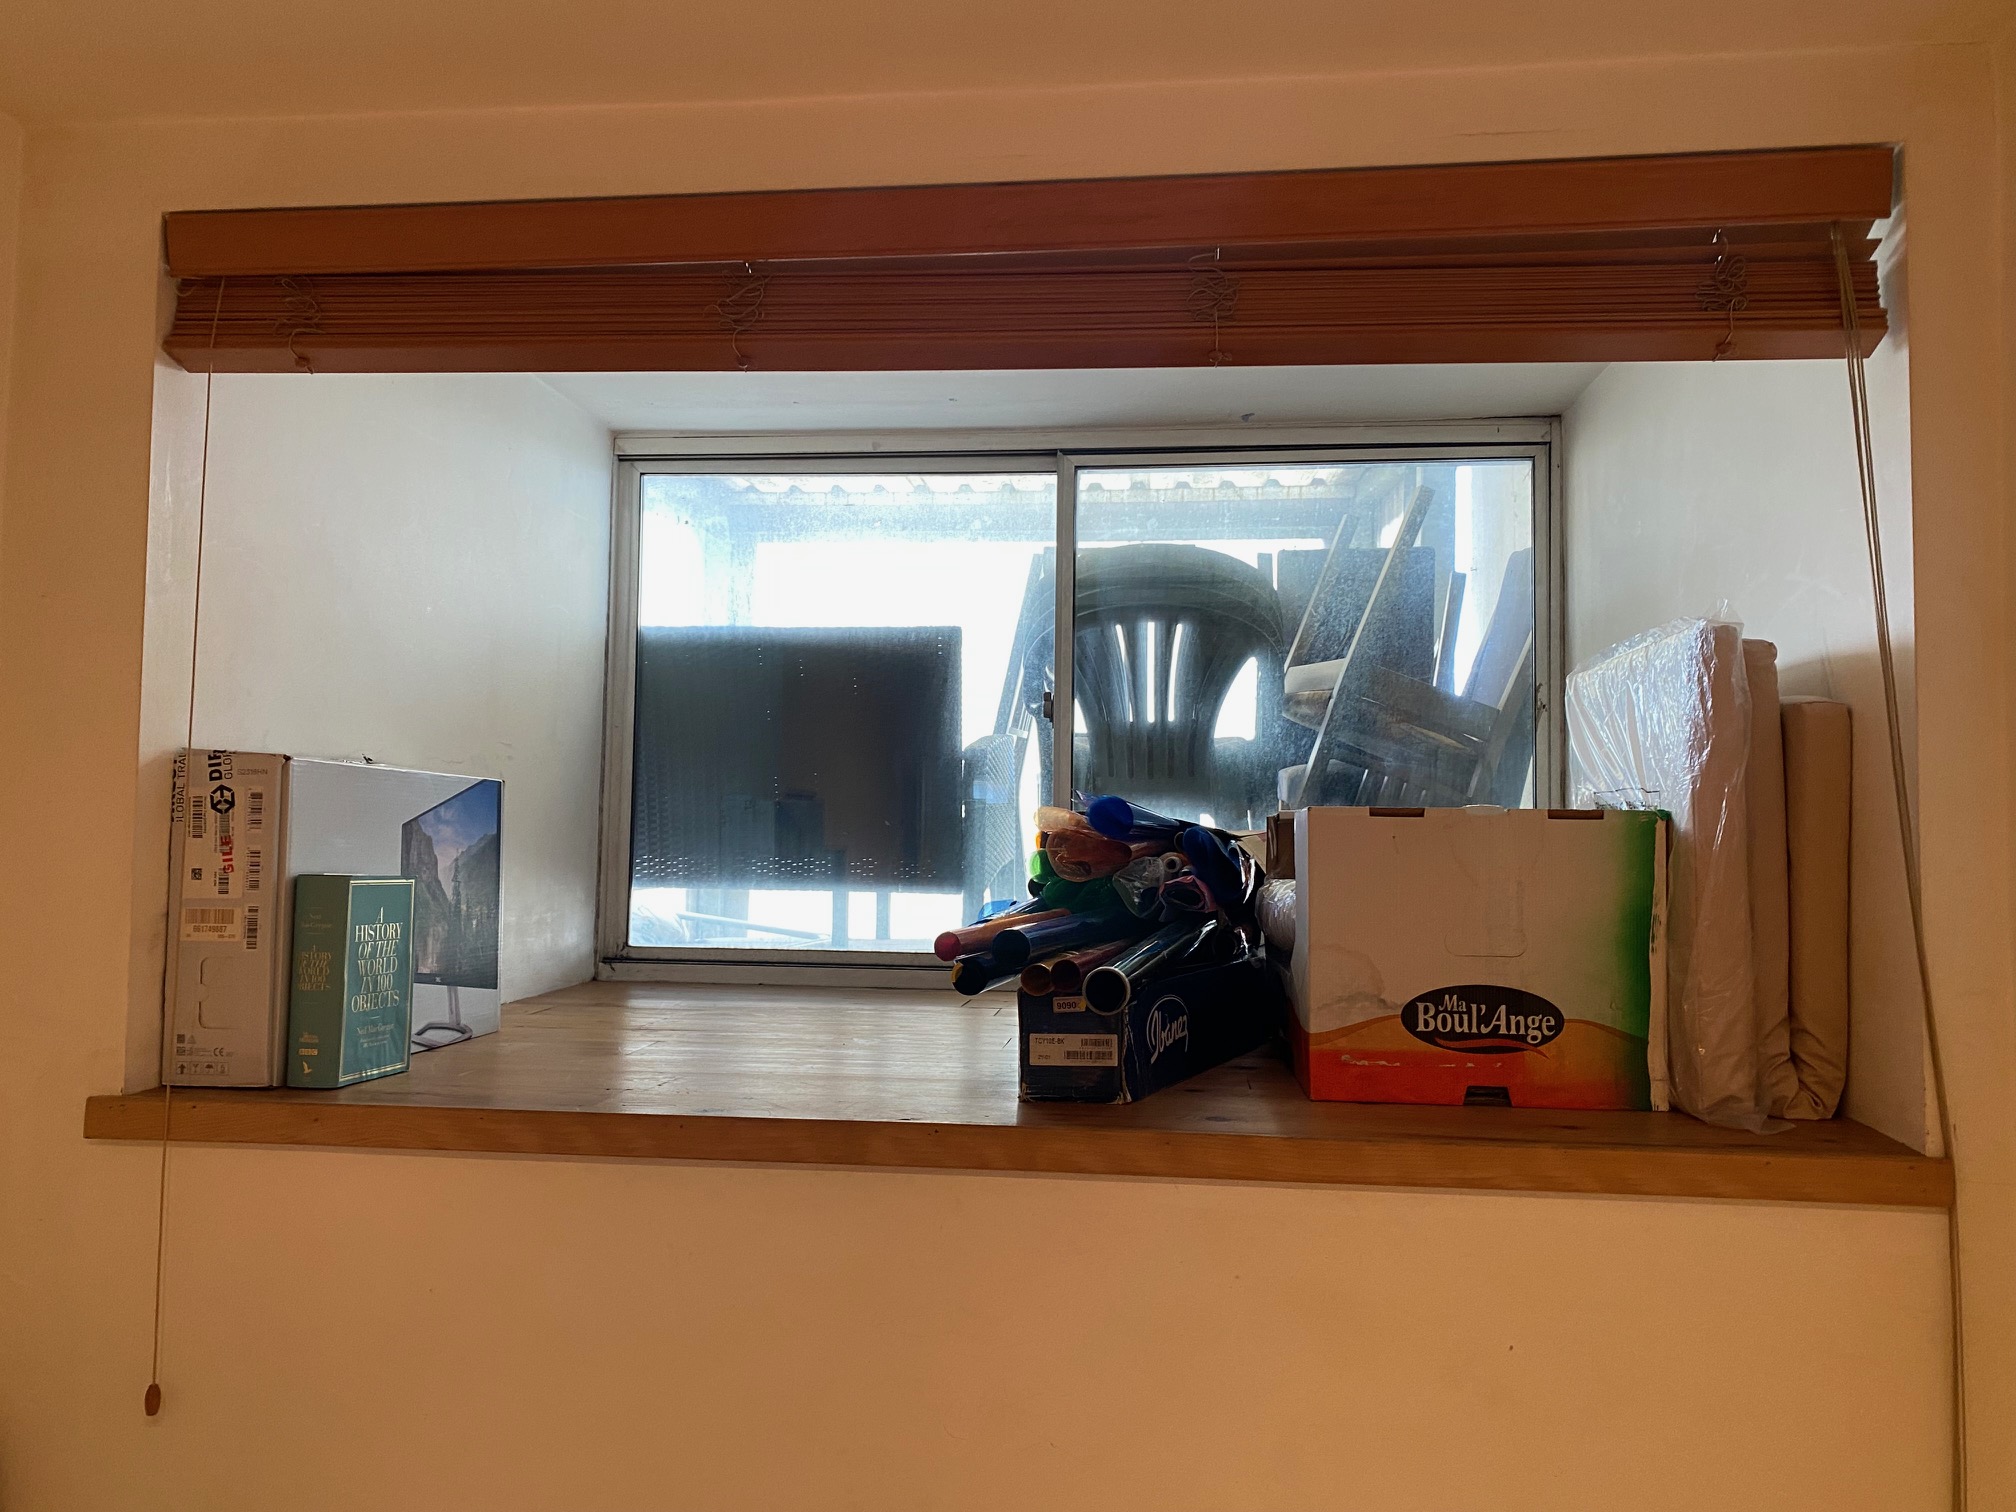
A lot of the boxes by the window were recyclable, and the rest needed to be rearranged or moved somewhere more accessible (like under the bed).
END OF DAY 3
Final results!
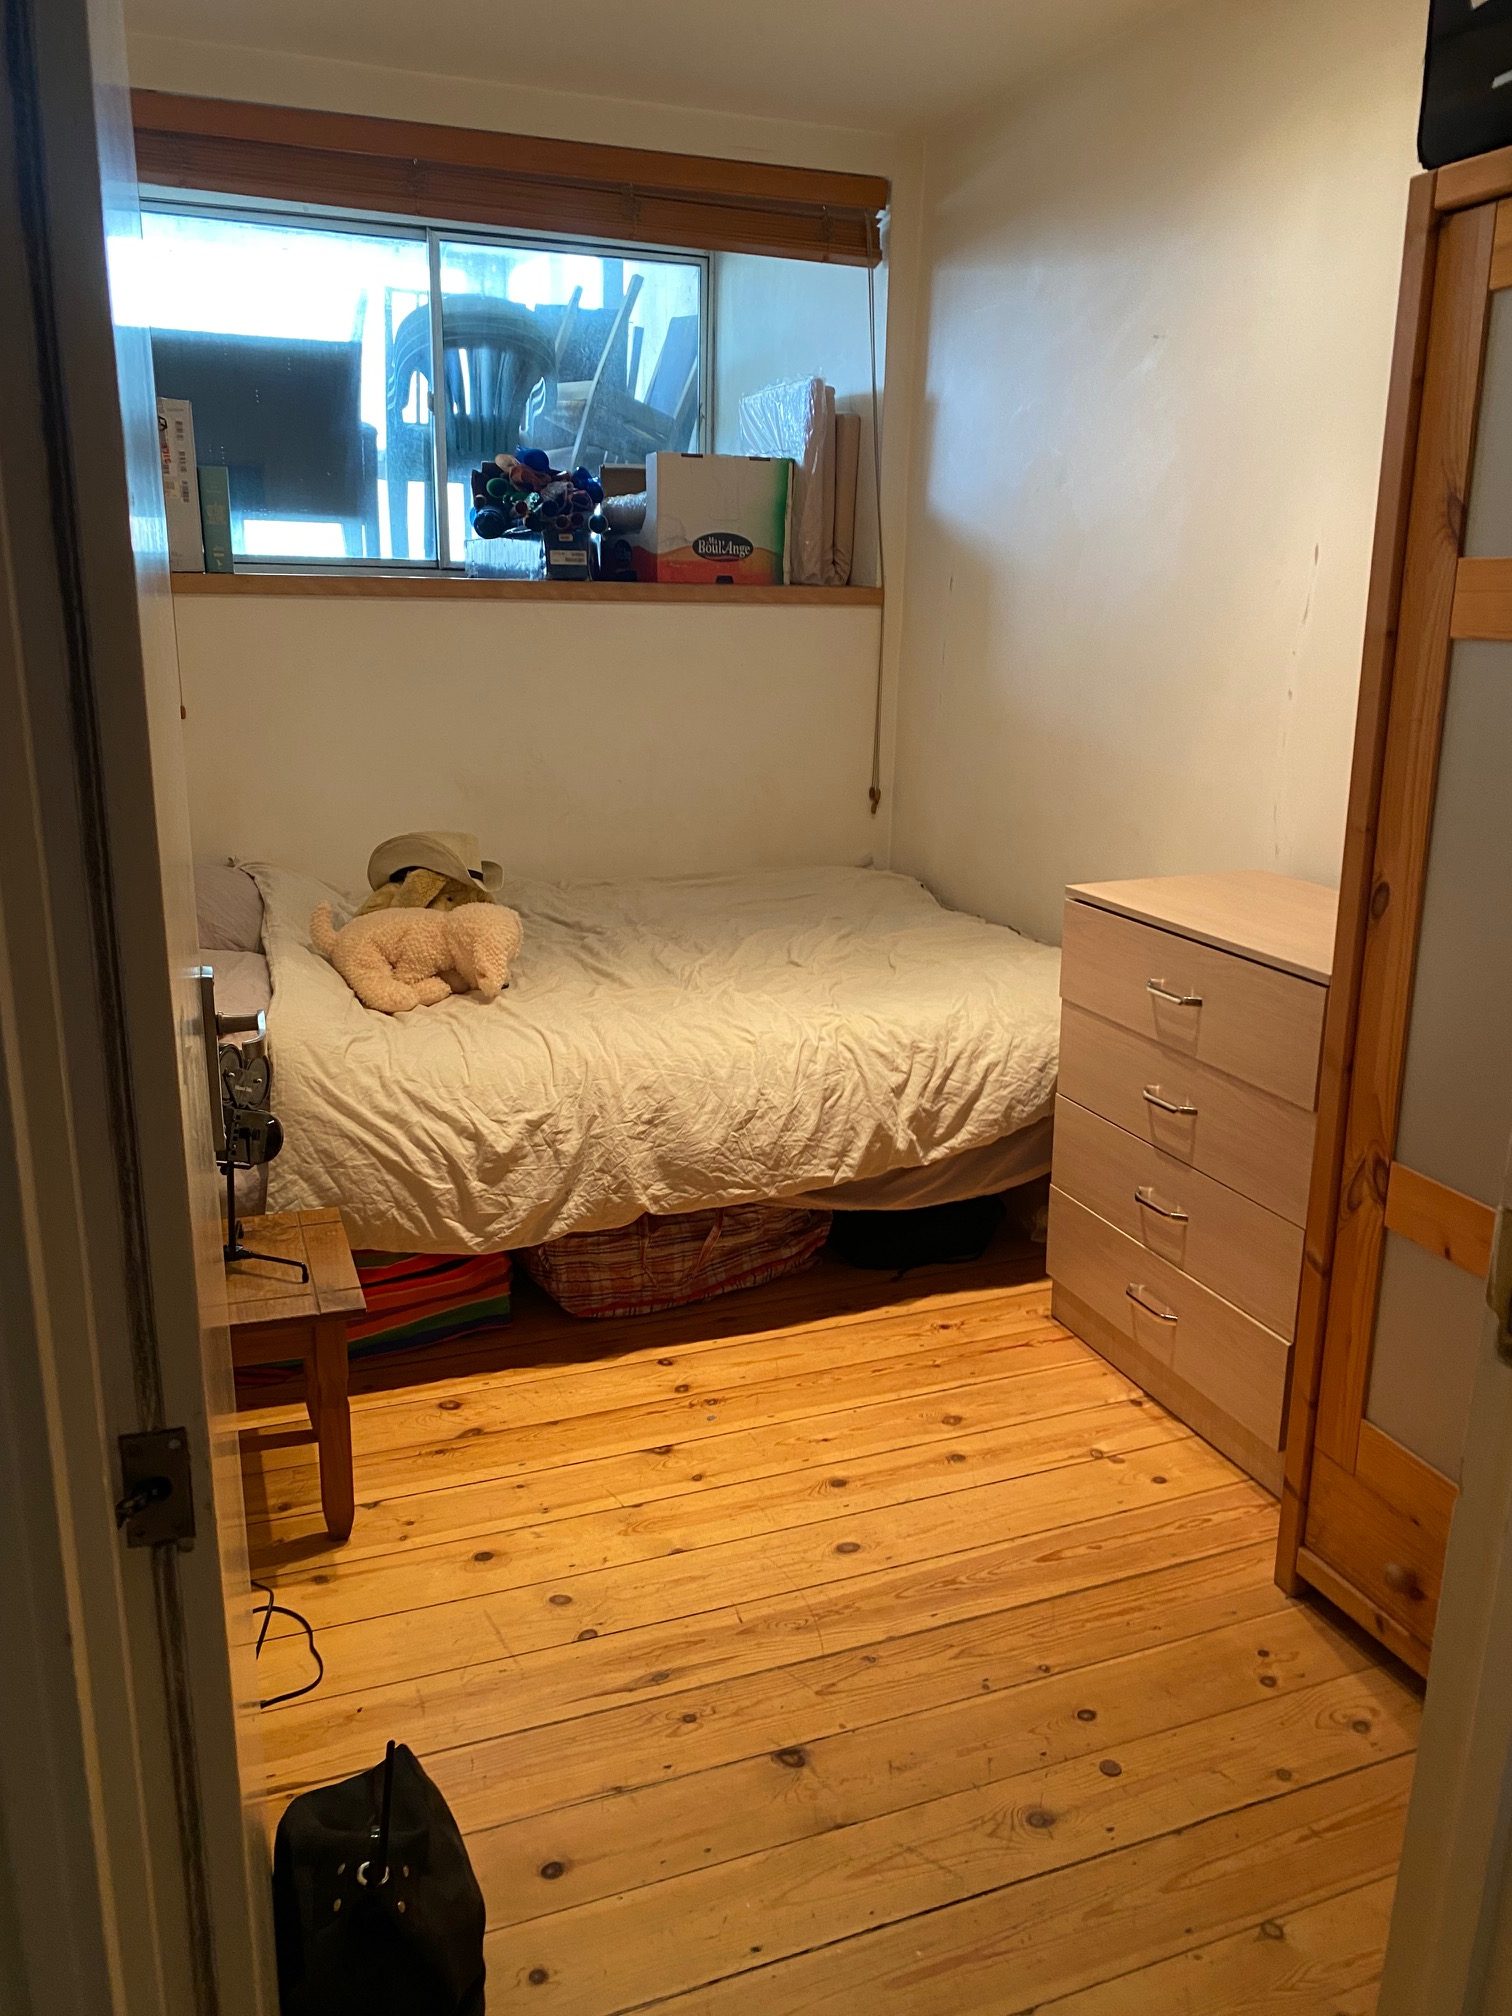
What do you think? The room looks brighter and tidier.
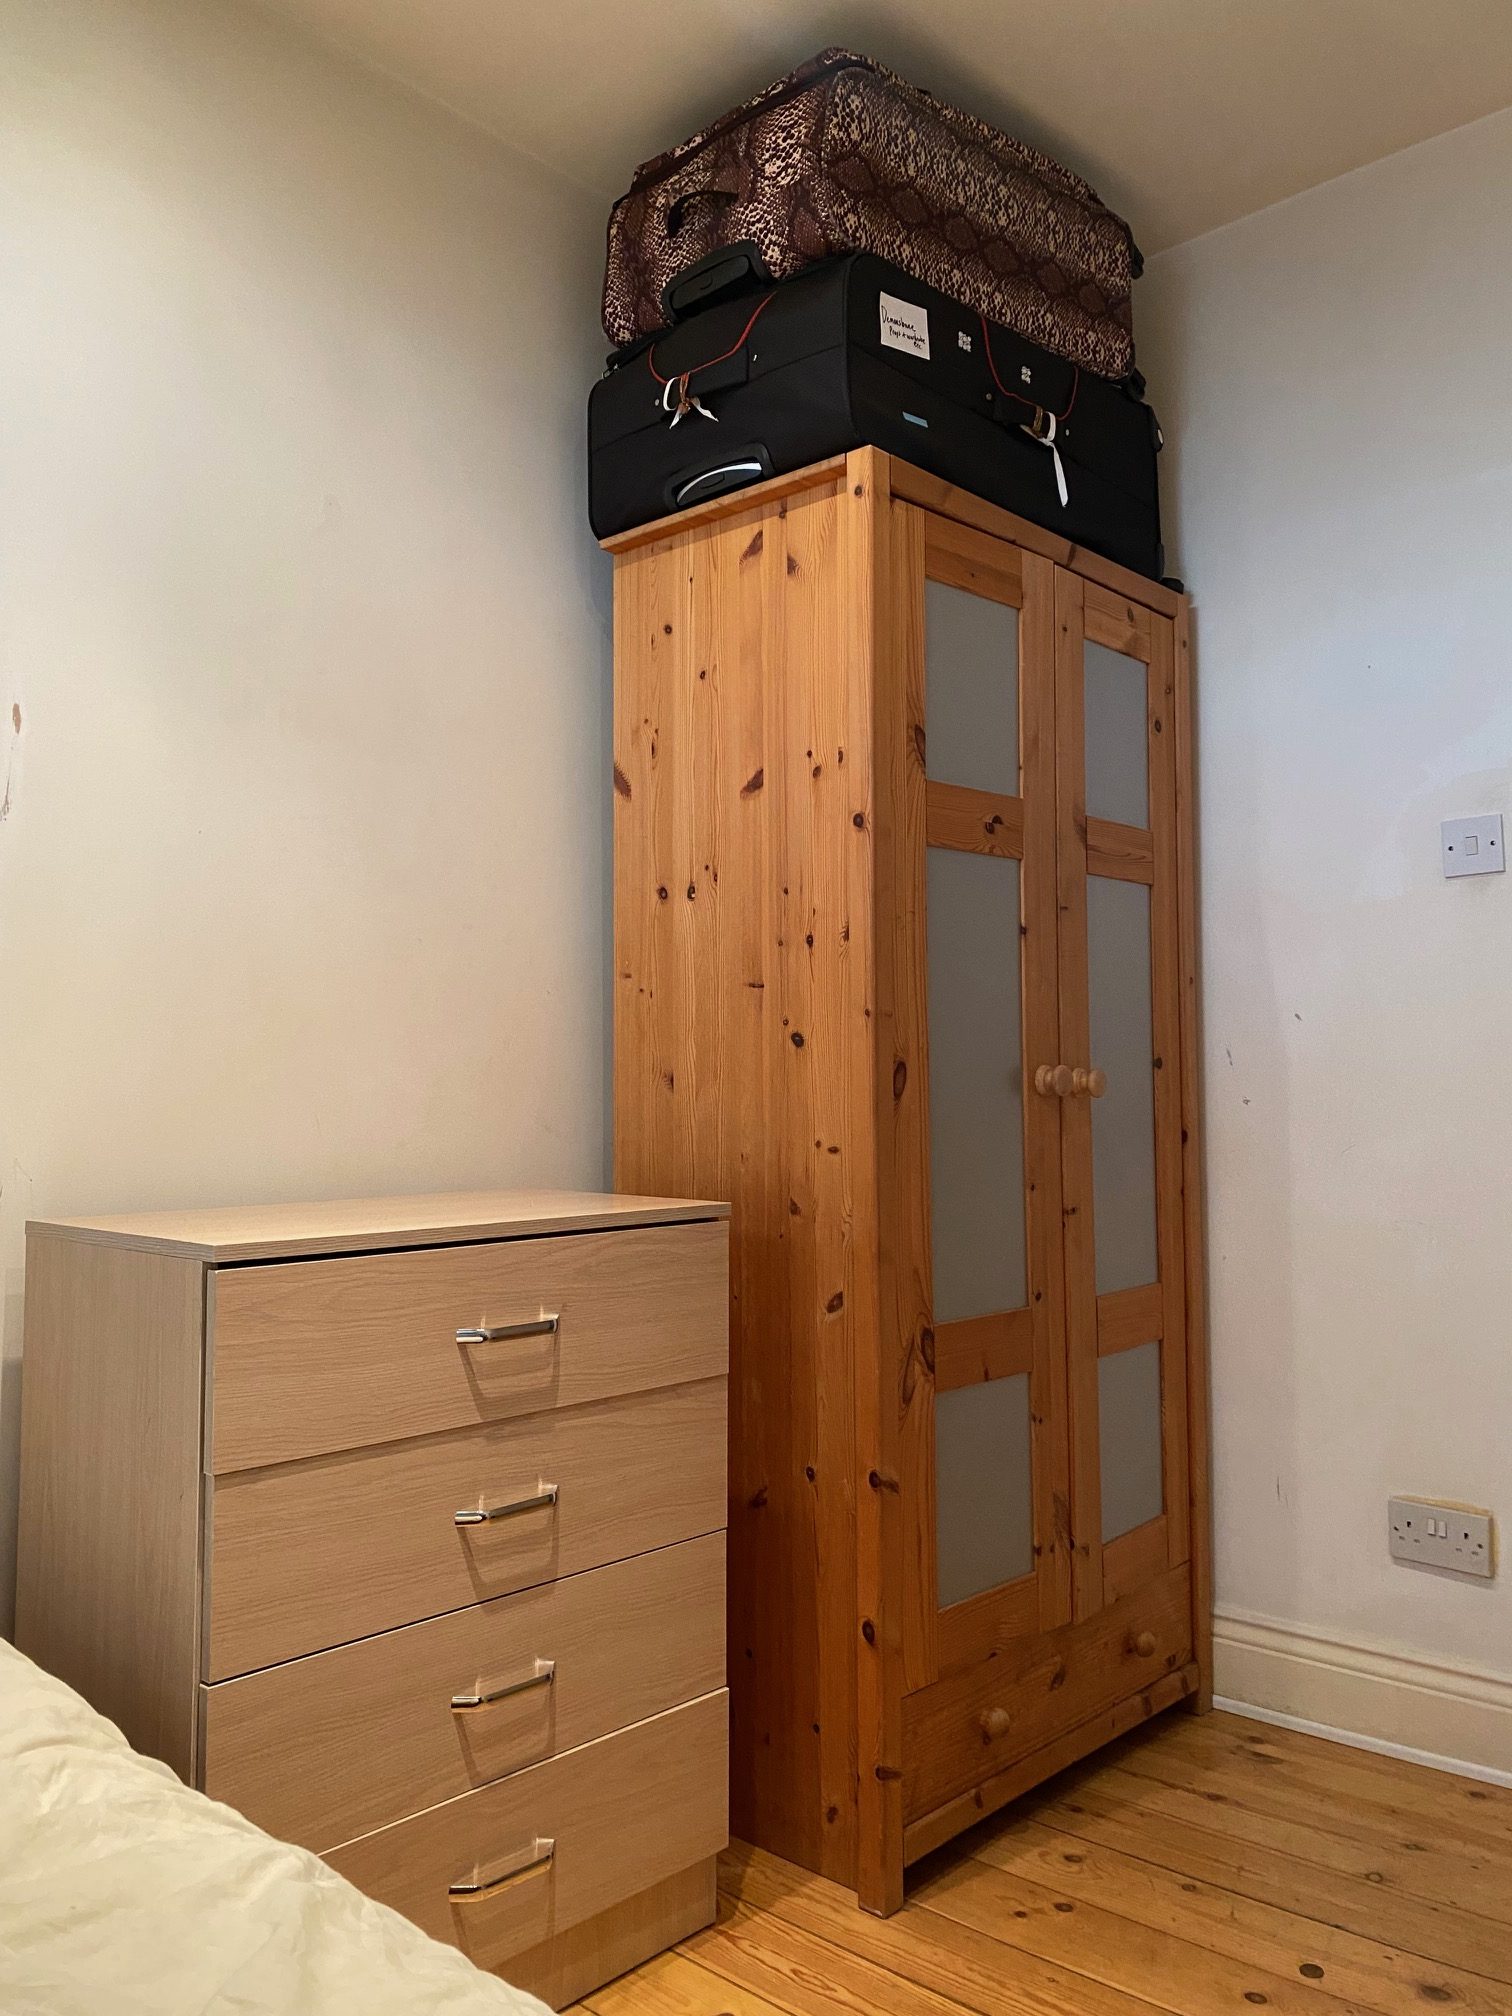
The chest of drawers now has space on top, for daily use.
Large bags of plastic and cardboard to be recycled
Large bags of donations for the local charity shop
Small bags of re-sellable items to be listed online
Medium bags of rubbish to be disposed of.
Small bag of useful items to gift to friends
Have a spare room you need clearing? Or need to arrange your wardrobe in a more accessible way? Sometimes, a helping hand is all you need!


I can almost smell how different that room now feels – Inspired to see if I can tackle my wardrobe.
Thank you Fran for a wonderful website…I know who to call if it gets too overwhelming!
Thank you Adele, for the kind words and inspiration! Indeed it felt so much more spacious and brighter 🙂 the client was very happy with the result!